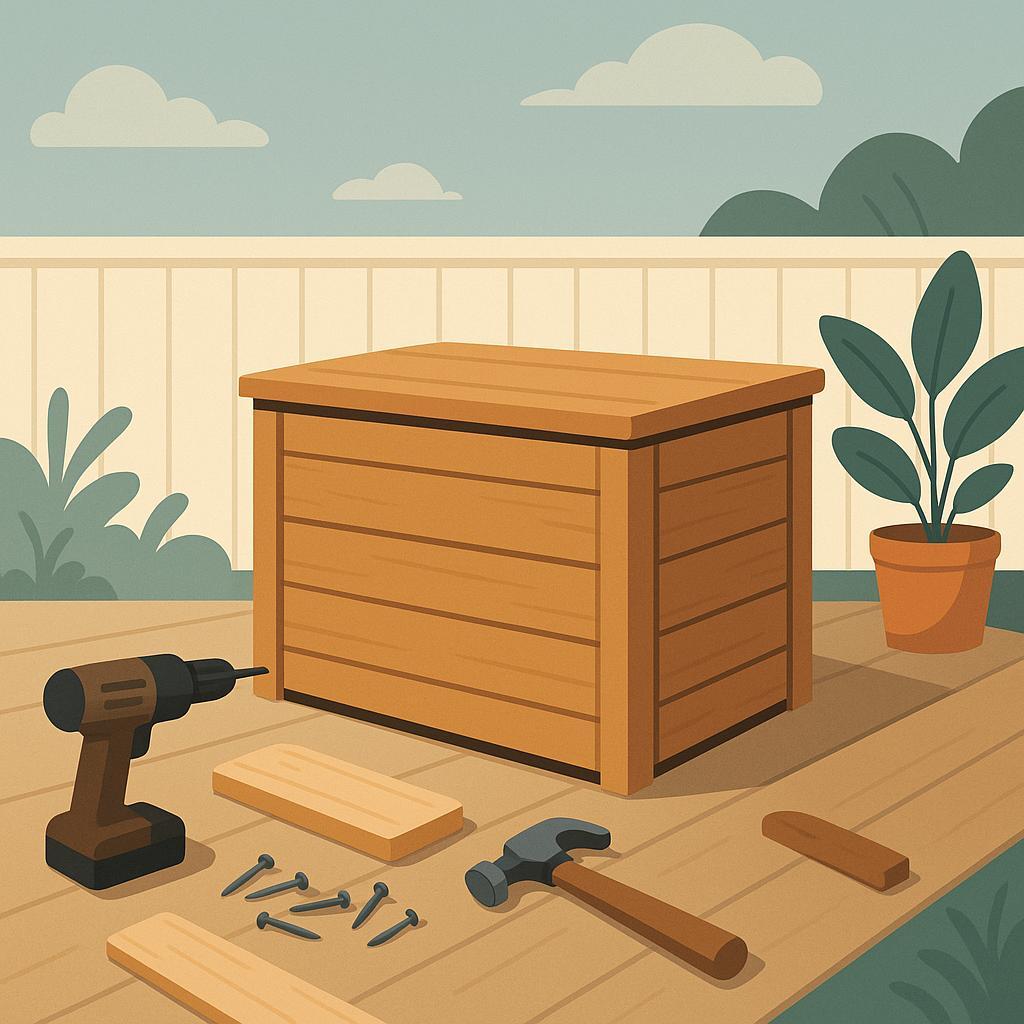
Build it once, enjoy it year after year: a wooden storage box that keeps cushions, tools, and toys dry while quietly showing your craft. For woodworking enthusiasts, it's a practical test of design, joinery, and outdoor finishes. This guide walks you through sizing for a patio or deck, choosing rot-resistant lumber, and building with sturdy joints. You'll learn a reliable whether seal,lid supports,and finishing tips that withstand sun and rain,plus a straightforward cut list and time-saving tricks. By the end, you'll have a durable, attractive outdoor storage solution ready to deploy.
Choosing the Right Wood for a Durable Patio Storage Box
begins with durability and weather readiness. Outdoor boxes face sun, rain, humidity, and temperature swings, so start by selecting species known for rot resistance and dimensional stability. Look for kiln-dried stock to reduce moisture and minimize warping after assembly. A well-seasoned base will also hold fasteners longer and accept finishes more evenly.
here's a quick snapshot of popular options to help compare durability,workability,and finish needs.
| Wood Type | Rot/Durability | Workability | Finish/Notes |
|---|---|---|---|
| Cedar | Good; natural oils resist decay | easy to cut and shape | Accepts stain well; lightweight |
| Redwood | Very good; high decay resistance | Moderate; pleasant scent | Patina ages nicely; seal edges |
| Ipe | Excellent; extremely durable | Hard; requires sharp tools | Oil or varnish recommended |
| Pressure-treated Pine | Good; treated against rot | Easy; forgiving for beginners | Seal thoroughly; avoid edge exposure |
When choosing, consider not only the species but also how you'll seal and fasten the box. Use corrosion-resistant screws and predrill to prevent splitting. end grain should be protected with a durable exterior sealer, and all joints should be treated to reduce water intrusion. For finishes,a penetrating deck stain or a high-quality exterior oil lets the wood breathe while keeping it protected. Schedule reapplications every 1-3 years, and inspect lids, joints, and hardware as seasons change.
source wood from reputable suppliers who can attest to harvest methods and grade. look for FSC-certified or similarly responsible options to support lasting forestry, and verify that the stock is kiln-dried before shipment to minimize warping after install. Pair your chosen species with proper exterior hardware and a simple interior liner to guard against moisture and spills.
Get Instant Access to 16,000+ Woodworking Plans →
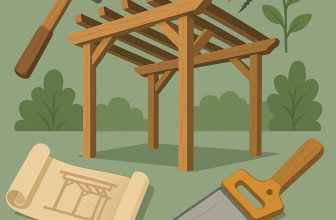
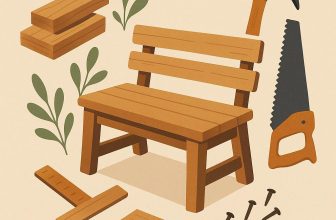
Designing a Storage Box That Complements Your Deck Style
To design a storage box that complements your deck style, start by matching materials, finishes, and lines. Take a close look at your deck boards: is the grain tight and warm or wide and clean? Choose wood species and stains that reflect that personality – cedar with a light, weathered finish for a rustic vibe, or a smooth, painted exterior if your deck leans modern. Plan the lid height so it sits at or just above chair seats, making it easy to open from a sitting position while keeping the overall silhouette balanced with rails and furniture.
hardware, ventilation, and moisture control matter more than they look.Pick hardware finishes that echo existing deck fittings-oil-rubbed bronze for customary spaces or brushed nickel for contemporary ones. Install slow-close hinges to avoid slams, and add subtle vent slots or a breathable liner to discourage condensation. If rain is common, include base drainage holes and a weatherproof seal around the lid. A removable liner or adjustable dividers inside keeps cushions, covers, and garden toys neatly organized.
| Deck Style | Recommended Box Shape | Finish & Hardware |
|---|---|---|
| Coastal | Slatted sides for airflow | Weathered cedar stain; brushed nickel hinges |
| Modern | Flush panels with clean lines | Graphite stain or paint; matte black hardware |
| Rustic | Paneled with simple moulding | Warm oil finish; antique brass hinges |
Layout ideas and finishing touches: design the box to double as seating by keeping the lid sturdy enough for occasional use as a surface, or add a recessed lid that sits flush with the deck. For a coastal deck, opt for a slatted design to encourage airflow; for a cottage-style space, add panel moulding for texture.Finish with weatherproofing suitable for your climate, and keep the bottom raised slightly to promote drainage and air circulation.When you're ready, test the fit by placing a cardboard footprint on the deck to confirm clearances, and verify that the lid opens fully without hitting furniture or rails.
Get Instant Access to 16,000+ Woodworking Plans →
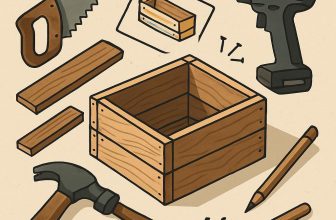
Step by Step Construction Guide for a Sturdy Outdoor box
Start by imagining how the box will sit on your patio and what you'll store inside. choose exterior-grade lumber (cedar or pressure-treated pine) and a sturdy minimum thickness to resist warping. Draft a cut list for panels, a lid, and a bottom, and verify hinge and lid clearances before you cut. Round up weatherproof screws, wood glue, and a sealant that withstands sun and rain. Prepare for moisture control by sealing end grains and planning for drainage to prevent water pooling on the lid.
Step 1: Cut precisely - cut the sides, front, back, and bottom to the exact dimensions on your cut list. Label each piece as you go, and drill pilot holes on all exterior joinery to prevent splitting. Step 2: Make the lid and hinge rail – lay out the lid framing with a small overhang and leave space for a water-shedding gap between lid and box. Step 3: Drill pocket holes or use through-bolts for a clean, strong frame. While you work, keep scraps aligned for straight edges and use clamps to hold pieces square while the glue dries.
Assemble in a logical order to keep the box square. Start with the base frame, then attach the side panels, and finally lock in the back and front with exterior screws or pocket-hole hardware.Use wood glue at every joint and clamp until the glue sets. Pay attention to the lid frame alignment so the lid sits flush and covers the top without binding.
Finish with a protective exterior finish that's compatible with outdoor use-think an opaque deck stain or deck-protecting varnish. Apply at least two coats to all faces, including the bottom and the inside edges, to slow water absorption and reduce swelling. Add simple drainage by leaving a shallow gap along the bottom edge and ensuring the underside has some clearance from the deck. If you plan to store cushions or dry goods, consider a vented lid or a small air gap to prevent mildew, and seal all cut ends one final time after assembly.
Get Instant Access to 16,000+ Woodworking Plans →
Weatherproofing Techniques and Finishes That Stand Up to Sun and Rain
Weatherproofing your outdoor wooden storage box starts with a smart finish plan and solid prep. Start by removing any hardware, then sand all surfaces smooth with 120-150 grit for a clean bite. Wipe away dust, then inspect end grain and joints-these areas drink finish fastest. For sun-heavy spots, prioritize UV‑blocking finishes; for rainy locales, ensure your choice offers excellent water resistance. If you're using softwoods or newly cut lumber, consider a penetrating sealer or conditioner to even out the pores before applying your topcoat. choose a protective layer, and pair it with rust‑resistant hardware and proper drainage to keep water from pooling on the lid.
Here's a quick comparison of common outdoor finishes to guide your choice. Each option has tradeoffs between appearance, durability, and maintenance:
| Finish | Pros | Cons | Recoat |
|---|---|---|---|
| Spar (marine) varnish | Excellent UV resistance; highly flexible | Can amber with age; requires maintenance | 1-2 years |
| Exterior polyurethane (waterborne) | Durable; clear or tinted | UV aging can occur; less flexible | 1-3 years |
| Exterior deck stain (semi-solid) | Hides grain; easy maintenance | Color fades; needs reapplication | 1-3 years |
| Exterior paint (acrylic) | Best moisture barrier; wide color range | Prep and peeling risk if not done well | 4-7 years |
Stepwise application: For best results, apply two to three thin coats rather than one heavy coat. Between coats, lightly sand with 320-400 grit to scuff the surface and improve adhesion. Let each coat dry fully according to the product instructions, typically 4-8 hours for waterborne finishes and 24 hours for oil-based. When using varnish or polyurethane,finish with a final coat on all sides,including underside of the lid,to seal the wood from moisture. In high-humidity or sun-drenched climates, plan a yearly check: re-sand any rough spots, clean, and reapply as needed. replace any exposed hardware with stainless steel or galvanized fasteners to prevent corrosion that could compromise the finish.
Get Instant Access to 16,000+ Woodworking Plans →
Smart Access and Organization Ideas for Patio Storage
Smart access begins with a plan that keeps daily use simple. Design the box with distinct zones in mind-one for cushions and throw blankets, another for garden tools, and a small section for outdoor toys or grilling accessories. Choose features that make loading and unloading easy,like sturdy handles and a lid that stays open or slows gently to a stop. A weatherproof finish, rust-resistant hardware, and durable hinges ensure you can reach for what you need without wrestling with the box.
Inside, modularity pays off.Use removable dividers and stackable bins to tailor the space to your season. Label compartments so you can grab what you need in seconds. Add a moisture-control liner and desiccants to protect fabric cushions, wooden handles, and seeds.
| Feature | Benefit | Placement |
|---|---|---|
| Removable dividers | Customizable compartments for quick access | Interior sides |
| Weatherproof seal | Keeps contents dry in rain or humidity | All around lid edges |
| Vent holes | Prevents moisture buildup and odors | Base panels or lid area |
Placement matters: position the box within easy reach of doors and seating,but away from sprinkler lines and high-traffic zones. If space allows, add a light caster kit to transform it into a roll‑away station, so you can reconfigure the deck without lifting the entire box. Choose balanced hinges or a soft‑close mechanism to keep the lid quiet and safe for hands of all ages.
Finish and maintenance keep smart storage looking sharp season after season. Apply a weather-resistant exterior seal and reapply as recommended, then check screws and handles for tightness every few months. Create a simple labeling system-color codes or durable tags-that stays legible in sun and rain. When cleaning, wipe the interior with a damp cloth and rotate items so seldom-used pieces don't crowd the front. This small routine helps you save time and extend the life of your patio box.
Get Instant Access to 16,000+ woodworking Plans →
Maintenance Tips to Keep Your Wooden Box Looking Great
To keep your wooden storage box looking great, start with a simple cleaning routine.Remove loose debris with a soft brush or microfiber cloth, then wipe with a mild soap solution and water. rinse thoroughly and allow it to dry fully before use. Regular light cleaning helps prevent staining and keeps the exterior finish intact, even in dusty patio conditions. For stubborn sap or bird droppings, apply a gentle scrub with a soft sponge, rinse again, and dry completely.
Next, inspect the box for signs of wear. Twice a year, check joints, seams, and hardware for cracks, looseness, or rust. if you spot rust on hinges, replace with weather-resistant steel or stainless hardware. Lightly sand any rough spots with 180- to 220-grit sandpaper to smooth the surface before refinishing. Wipe away dust with a tack cloth and let it dry before applying a fresh coat.
For finishes, choose a product designed for outdoor use and your preferred look. A water-based polyurethane gives a clear, quick-drying seal with low odor, while an oil-based penetrating oil enhances grain and offers long-lasting protection. Apply thin, even coats and allow each coat to dry fully before adding the next; lightly sand with 320-grit between coats for a smooth result. If UV protection matters, select a deck stain with UV blockers and plan recoat intervals around fading signs.
| Finish Type | Best For | Typical Recoating |
|---|---|---|
| Water-based polyurethane | Clear, quick-drying, low odor | 1-2 years |
| Oil-based penetrating oil | Deepens color, strong penetration | 1-3 years |
| Deck stain with UV blockers | Color + UV protection | 2-3 years |
maintenance extends beyond coatings. Protect the box from direct rain and pooling water by using a breathable cover and elevating it slightly off the ground when possible. In winter, store the box indoors or under a sheltered, dry location. Regularly check for mildew or insect activity and address promptly with appropriate cleaners or treatments recommended for outdoor wood. A simple annual checklist can keep the project looking fresh for many seasons to come.
Get Instant Access to 16,000+ woodworking Plans →
Q&A
What type of wood is best for an outdoor storage box?
For longevity, choose rot-resistant species like cedar or redwood, or pressure-treated pine with a proper exterior finish. Exterior plywood or mild hardwoods can work outdoors when sealed well, especially on all edges and joints. Avoid softwoods without protection, as they tend to soak up moisture and warp over time.
How can I make the box weatherproof and durable?
Use exterior-grade plywood or rot-resistant lumber, and seal all edges and surfaces with a UV-protective exterior finish. Add a slightly sloped lid and raise the box on short feet to encourage drainage. Choose rust-resistant hardware and consider a gasket or weather seal for the lid to keep moisture out.
What assembly tips help prevent warping and splitting?
Pre-drill holes and use stainless steel or galvanized fasteners to resist corrosion.Apply waterproof wood glue and reinforce corners with braces for stiffness. Keep joints clean and dry during assembly, and sand edges smooth to avoid snags.
How should I maintain and use the box on a patio or deck?
Close the lid when not in use and wipe away standing water promptly. Reapply exterior sealant as needed and inspect for signs of rot or loose screws.If you store cushions or tools, consider an inner tray or dividers to keep items organized and dry.
Concluding Remarks
Finished, the wooden storage box stands as a quiet testament to careful planning, precise joinery, and weather-ready finishes. The takeaway is clear: a well-designed box protects what you value and lets your tools shape the material into somthing useful. For woodworking enthusiasts, this project matters as it blends craft with practicality-practise cut accuracy, material selection, and waterproofing in a single, tangible result. It invites experimentation: try different lids,hinges,or sealants; adjust dimensions to fit your space; explore more guides to sharpen techniques. Build, and you'll not only gain storage but confidence. Take the next step, and carry the joy of woodworking forward.


This looks like a fantastic DIY project! I love how it can add both functionality and charm to outdoor spaces. Can’t wait to give it a try!
This is such a great idea, Aaron! A wooden storage box not only keeps things neat and tidy but also serves as a stylish addition to any patio or deck. I’m excited to see how it turns out!
This project is brilliant, Aaron! I can already envision how much space it will free up and how nice it will look alongside my outdoor furniture. Thanks for the inspiration!
Awesome project, Aaron! I love the versatility of a wooden storage box – it’s the perfect blend of practicality and aesthetics for my patio. Looking forward to tackling this DIY!
Such a clever design, Aaron! I love how a wooden storage box can blend seamlessly with outdoor decor while providing essential storage. Can’t wait to start my own!
What a wonderful concept, Aaron! I really appreciate how practical and attractive a wooden storage box is for outdoor areas; it truly enhances the overall vibe while keeping everything organized. Excited to see everyone’s creations!
This is such a fantastic project, Aaron! A wooden storage box is not only functional but also adds a warm touch to the outdoor setting. I can’t wait to gather my materials and get started on my own version!
What a great idea, Aaron! I love that a wooden storage box not only keeps things organized but can also serve as a lovely design element on my deck. Can’t wait to dive into this project!
This is such an inspiring project, Aaron! A wooden storage box is the ideal blend of style and functionality for any outdoor space. I’m excited to get my hands on this DIY and personalize it for my patio!
What a brilliant idea, Aaron! I love how a wooden storage box can be both functional and a beautiful addition to my patio. Eager to personalize it and elevate my outdoor space!
What a superb project, Aaron! I love how a wooden storage box can be both a stylish feature and a clever way to declutter my patio. Looking forward to making my own and adding a personal touch!
What an awesome project, Aaron! I’m really excited about the idea of creating a wooden storage box that not only tidies up my patio but also enhances the overall aesthetic. Can’t wait to bring my own flair to this DIY!
What a fantastic project, Aaron! I’m really looking forward to making a wooden storage box that adds both charm and practicality to my patio. Excited to get started on this DIY challenge!
What a great initiative, Aaron! I love the thought of crafting a wooden storage box that not only organizes my patio but also adds a unique touch to my outdoor decor. Can’t wait to start this DIY project!