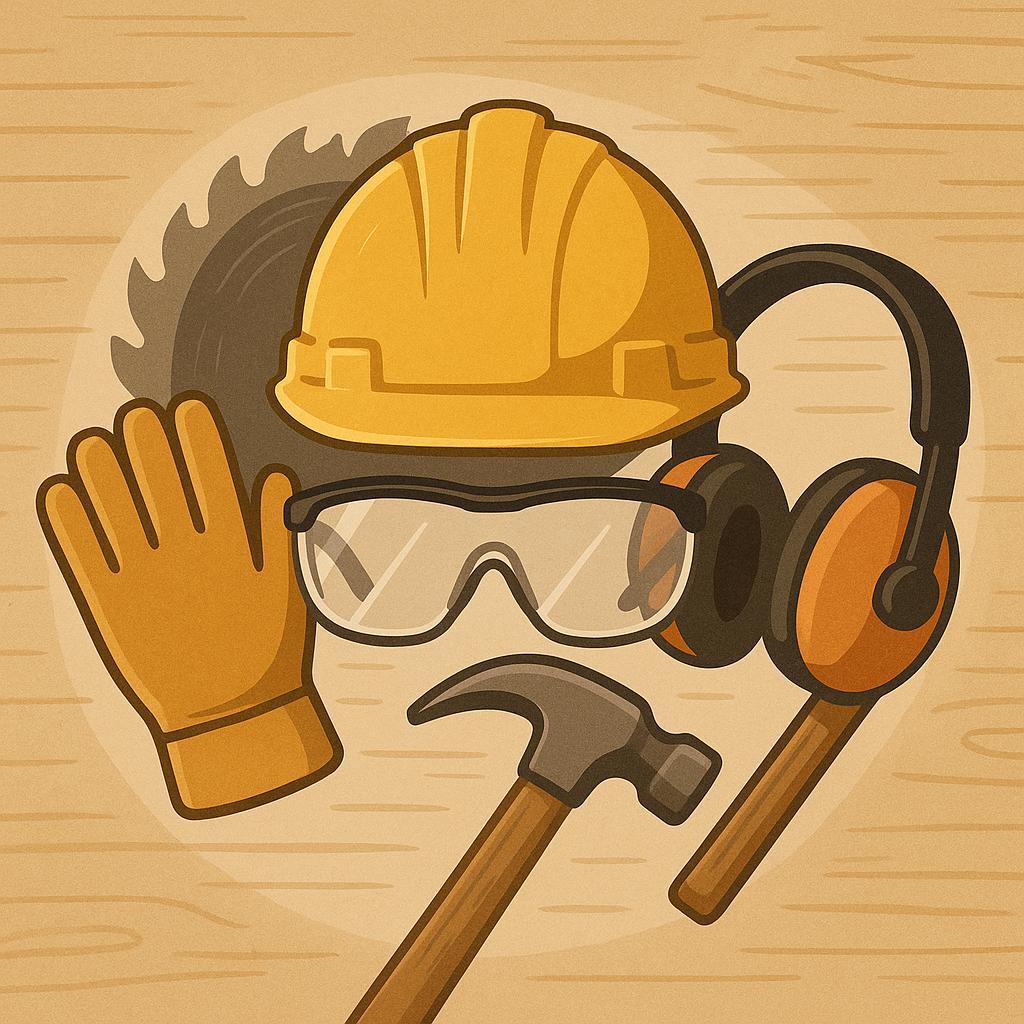
One spark, one slip, one moment of distraction-and your workshop can swing from craft to catastrophe. For woodworkers, safety gear isn't a box to check; it's a reliable partner protecting eyes, ears, lungs, and skin as you shape timber. This article breaks down the essential gear you need, explains how each piece keeps you safer, and shows you how to choose options that fit your tools, space, and budget. You'll learn practical tips for use, maintenance, and setup, plus a speedy checklist to stock your shop with confidence.Read on to build a safer, more confident workshop.
Eye Protection Essentials for Woodworkers
Eye protection is non-negotiable in the woodshop.Flying chips, grit, and fine dust can scratch or injure the eye in an instant, even during seemingly minor tasks.Prioritize eyewear every time you power up a router, saw, or sander-it's the smallest piece of safety gear that yields the biggest return. When selecting protection, aim for eyewear that fits well with your face and with any prescription lenses you wear, and look for a model that carries an ANSI Z87.1 rating for impact resistance.
common options include safety glasses with side shields, goggles for a robust seal against dust, and full-face shields that guard your whole face during aggressive sanding or finishing. each type has a niche: safety glasses are light and quick to wear; goggles seal tightly but can fog; face shields provide broad coverage but still require eye protection underneath.If you wear prescription eyewear, consider wraparound safety glasses or goggles designed to fit over glasses, and make sure ventilation minimizes fogging.
To help you choose at a glance, here's a quick comparison of the main options:
| Type | Best Use | Pros | Cons |
|---|---|---|---|
| Safety Glasses | General woodworking | Lightweight; pleasant; fits over moast prescriptions | Limited facial coverage; can fog |
| Goggles | Dust-heavy environments | Excellent seal; better dust protection | Can be less comfortable for long sessions |
| Face Shield | Sanding, finishing, grinding | Full-face coverage; easy to wear with respirator | Protection mainly for face; needs eye protection underneath |
Keeping your eyewear in good condition is essential. Inspect lenses before each session, clean with mild soap and water or a dedicated lens cleaner, and store them in a protective case after use. Replace worn-out frames or scratched lenses, and avoid solvents or harsh chemicals that can degrade coatings. For fog-prone environments, consider anti-fog treatments or vents, and keep a spare pair at your bench for quick swaps to minimize downtime.
- Ensure proper fit: secure temples and splash guards sit flat against the face.
- Use over-glass protection if you wear prescription lenses.
- Apply anti-fog coatings or use ventilation to prevent fogging.
- Regularly replace damaged eyewear; never work with cracked lenses.
Build Your Dream Workshop on a Budget →
Respiratory Safety and Dust Control Essentials
Respiratory safety and dust control in a woodshop are as essential as safety glasses or gloves. Fine wood dust can irritate eyes, inflame airways, and, with repeated exposure, contribute to allergies or asthma. In a busy shop, particles from sanding, planing, and finishing can linger in the air long after you've stopped the machine. A layered approach-strong dust collection, well-fitting respirators, and careful housekeeping-keeps the air clearer and protects your lungs for the long haul.
Engineering controls come first. Use a dedicated dust collection system with properly sealed ducting, and add a cyclone or separator to reduce settled dust. Were fixed systems aren't practical, a high-velocity shop vac with a HEPA filter paired to the tool can keep emissions down. For personal protection, choose a respirator that fits well and matches the task: a NIOSH-approved respirator with a P100 filter on a half-face or full-face elastomeric model offers strong protection for fine wood dust; for long sessions or when you need lighter breathing effort, a Powered Air-Purifying Respirator (PAPR) can be a comfortable option. Always perform a seal check, avoid facial hair that breaks the seal, and replace cartridges or filters according to the manufacturer's schedule.
| Type | Protection | Best Use | Notes |
|---|---|---|---|
| Disposable N95 | Moderate | Light sanding or turning | Budget-kind |
| P100 Half-Face | High | Fine dust, longer sessions | Replace filters regularly |
| Full-Face Elastomeric | High + eye protection | Grind/finish with solvents or vapors | Requires maintenance |
| PAPR | Very High | All-day comfort, poor ventilation | Battery dependent |
Maintenance and housekeeping are essential to keep protection intact. Vacuum or damp-wipe dust rather than sweeping it into the air, and store waste and used filters properly. empty dust collectors regularly so airflow stays efficient, and keep tool hoods and ducts clear of obstructions. Inspect PPE at the end of each day-look for cracks, worn seals, and battery status on PAPRs-and replace parts as needed. With steady habits-capture at the source, wear the right respirator, and stay on top of cleaning-the risk from wood dust stays low and your lungs stay happier in the long run.
Build Your Dream Workshop on a Budget →
hearing Protection Tactics for a Quieter Woodshop
Noise is a constant companion in many woodshops, and protecting your hearing pays off long-term. Start with a quick audit: note the loudest tasks and the tools that feel most intrusive. Most power tools operate in the 85-100 dB range, and prolonged exposure at these levels can accumulate quickly. The goal here is to reduce exposure through a mix of protection, quieter practices, and smart shop layout so you can work comfortably without sacrificing safety.
Personal hearing protection comes in several forms, each with its own fit and feel. Foam earplugs compress easily and block a lot of sound, but they rely on correct insertion and can feel airtight after long sessions. Reusable earmuffs are fast to deploy and provide solid protection, though they can feel bulky and may clash with loose-fitting safety glasses. Electronic earmuffs strike a balance by providing amplification for quieter sounds while automatically attenuating loud bursts, helping you stay aware while staying protected. Use the talk test to check fit: if you can project your voice and still here your voice through the protection, you might need a tighter seal or a different type of protection.
| Hearing Protection Option | Typical NRR (dB) | Pros | Cons | Best Use |
|---|---|---|---|---|
| Foam earplugs | 29 | High attenuation, inexpensive | Insertion required; can be uncomfortable for long sessions | Portable protection for short tasks |
| Earmuffs (passive) | 20-31 | Quick to wear; reusable | Bulkier; potential fit issues with glasses | Frequent loud tasks requiring quick protection |
| Electronic earmuffs | 24-29 | Amplifies quiet sounds; automatic attenuation for loud bursts | Higher cost; batteries needed | Work with both quiet and loud phases |
| Custom molded earplugs | 25-33 | Best fit and comfort; long-wear friendly | Higher upfront cost; requires fitting | Long sessions with high exposure |
To lower noise without always reaching for protection, address the sources. Keep blades sharp, fences aligned, and feed rates steady to minimize vibration. Add vibration-damping mats under stationary machines and consider enclosing the loudest equipment or separating it from the work area with acoustic panels. Rethink ducting and dust collection to reduce motor roar,and schedule the noisiest tasks for times when others aren't nearby. Even small changes-like starting a tool with a soft-start feature, using slower speeds on a planer, or applying whisper-quiet operations for finishing-can shrink overall exposure.
Build a simple protection plan you can follow weekly: pick a PPE option and confirm fit with a quick decibel check around your most-used stations; designate a quiet zone for delicate tasks; perform a short maintenance check on machines that generate the most noise; and log your protection choices and noise levels to guide future upgrades. With a structured approach, hearing protection becomes a routine part of safe woodworking rather than an afterthought.
Build your Dream Workshop on a Budget →
Hand Protection and Glove Guidance for Safe Tool Handling
Choosing the right gloves starts with material and fit. For general woodwork, durable leather or leather-twill gloves resist splinters and minor nicks, while nitrile-coated fabrics deliver reliable grip when hands are oily from finishes or resin. Make sure the glove fits well-too loose gloves can snag on tool edges, and overly tight ones diminish dexterity. Inspect gloves before each session, and retire any pair with torn seams, thinning fingertips, or persistent stiffness.
Tailor your gloves to the task at hand. Priorities include grip, cut resistance, and tactile feel. Use this quick checklist as a guide:
- Glove material matches the task (leather for rough handling; nitrile for slippery finishes).
- Glove size provides full finger control without excess bulk.
- Avoid loose cuffs or long sleeves that can catch on saws or belts.
- Inspect for wear after each use and replace when in doubt.
| Glove Type | Best For | Key Benefit | Caution |
|---|---|---|---|
| Leather Work Gloves | General carpentry and rough handling | Durable protection against splinters and abrasion | Less dexterity for fine parts |
| nitrile-Coated Fabric Gloves | grip on oily surfaces and finishes | Excellent grip and chemical tolerance | Not heat resistant; can wear at sharp edges |
| Cut-Resistant Gloves (Kevlar) | Handling sharp edges or planes | Enhanced cut protection | Bulkier; ensure proper sizing |
| Insulated/thermal Gloves | Cold environments | Thermal protection | Limited dexterity; not ideal for fine joinery |
Care and safe usage extend the life of gloves and keep hands protected. Wash according to manufacturer instructions-air-dry away from direct heat-and never expose gloves to solvents or high heat, wich can degrade materials. After use,inspect for holes,thinning material,or stretched seams,and replace immediatly. When operating power tools, remove gloves to avoid entanglement with rotating blades, belts, or sanding drums, and keep cuffs tucked or secured away from moving parts. With thoughtful selection and regular upkeep, gloves become a comfortable, trusted layer of protection that supports confident, precise woodworking.
Build Your Dream Workshop on a Budget →
Head and Foot Safety Gear for a Secure Woodworking Space
Head and eye safety is the first line of defense in a busy workshop. Always wear ANSI Z87.1-rated safety glasses or snug goggles to shield against chips,dust,and sparks,and consider a face shield for grinding or sanding tasks where particles can bounce back. For overhead hazards, slip on a hard hat or bump cap, especially when working near shelves, loose boards, or while relying on ladders. If your glasses fog up, choose models with anti-fog coatings or ventilation and keep a small cloth handy for quick wipe-downs.
Your feet deserve solid protection as you move between benches and machines. Choose closed-toe, non-slip footwear with a sturdy sole and secure laces, and consider steel-toe boots if you routinely handle heavy stock or anticipate dropped objects. Keep footwear clean and dry, and use non-slip mats on slick floors or near wet finishes. A quick habit: inspect laces and buckles before you start a session so nothing catches in power tools.
To maximize safety, maintain your head and foot gear with regular checks. Inspect lenses for scratches or cracks and replace any that impede visibility. Clean face shields and vents to prevent dust buildup, and ensure hard hats sit correctly on the head with a snug strap. Store footwear in a dry place and examine soles and toe caps for wear. A simple routine of quick inspections at the start of each session keeps minor issues from becoming injuries.
| Gear | Purpose | When to Wear |
|---|---|---|
| Safety Glasses / Goggles | Eye protection from chips, dust, and sparks | Whenever operating machines, cutting, sanding, or handling wood |
| Face Shield | Protects the face from flying debris | Grinding, heavy shaping, or tasks with potential splash |
| Hard hat | Overhead impact protection | Overhead work, stacking, or near stored materials |
| Footwear (Closed-Toe, Non-Slip) | Protects toes and feet from crush injuries and slips | All shop activities; use heavier tasks near machinery |
Build Your dream Workshop on a Budget →
PPE Fit Maintenance and Quick safety Checks for Every Workshop
Protective gear reaches its full potential only when it fits properly. Ill-fitting goggles slip at the moment you reach for a cut, earmuffs pinch, and gloves bunch in your palms. Prioritize comfort and a solid seal as the foundation of safety. With well-fitted PPE,protection becomes a second nature you barely notice,letting you focus on precision and control.
Kick off every session with a quick fit check for each piece of PPE. Ear protection: press the cups and adjust the headband until you hear a noticeable reduction in ambient noise without pressure on the temples.Eye protection: confirm the frame sits flush and the lenses give a clear, unobstructed view. Respiratory gear: perform a seal check per the manufacturer-positive-pressure or negative-pressure test to ensure no air leaks. If any strap is frayed, lenses are cracked, or a facepiece smells off, replace immediately.
Maintenance keeps protection reliable over time. Clean reusable eye and face shields after use; dry thoroughly and store away from solvents. For respirators, wash the facepiece weekly, replace filters according to exposure level, and inspect the valves for cracks. Gloves should be checked for tears and wear, with replacements kept on hand. Create a simple maintenance calendar in your workshop so replacements become routine rather than reactive.
Quick-reference maintenance table provides a snapshot of what to check and how often. Use it as a monthly audit you can print and pin near your workbench. To stay ahead,keep a spare pair of goggles,extra ear cushions,and fresh filters on hand so protection is ready when you are.
| PPE Type | What to Check | Frequency |
|---|---|---|
| Ear protection | Seal, cushions, headband comfort | Before each session |
| Eye protection | Frame integrity, lens clarity | Weekly or after impact |
| Respiratory gear | Seal, valves, filter condition | Weekly; replace per schedule |
| Gloves | Puncture resistance, fit | Per task; replace if damaged |
Build Your Dream Workshop on a Budget →
Q&A
What eye protection should I rely on for woodworking,and when do I need a face shield?
Wear ANSI Z87.1-rated safety glasses with side shields as the everyday guard, because they strike a balance of visibility and protection. For projects that fling chips-planing, ripping, chiseling, or sanding-add a full-face shield to catch particles that miss the glasses. Keep lenses clean and replace scratched ones to avoid fogging or compromised visibility.
How should I choose hearing protection, and what's the difference between earmuffs and earplugs?
Use hearing protection whenever tools regularly exceed about 85 decibels; both earmuffs and plugs reduce noise, so pick the option that fits comfortably and securely. Earmuffs are quick to put on and offer strong attenuation; plugs are portable and handy for quick tasks or when wearing a hard hat. For loud,extended work,consider using both for extra protection.
What kind of respirator or mask do I need for wood dust, and when is a simple mask not enough?
For general dust, a properly fitted N95 or P100 respirator provides better filtration than a cloth mask. If you're sanding or cutting fine dust, aim for a P100-rated respirator or one with an appropriate cartridge; for finishes or solvents, use an organic vapor cartridge. Always perform a seal check to ensure the respirator fits your face well, and rely on a dust collection system to minimize exposure.
What other essential gear should I have in my shop to stay safe?
Invest in a solid dust collection system or a shop vac with a HEPA filter and good ventilation to keep particles down. Keep safety basics ready-a fire extinguisher, a first-aid kit, working smoke detectors-and use blade guards, riving knives, and push sticks to keep hands away from blades. Don't forget sturdy, non-loose clothing and closed-toe shoes to reduce risk during maneuvering and tool use.
The Conclusion
Ultimately, the takeaway is simple: good safety gear isn't a burden, it's a trusted partner in every cut and carve. When you groom habits around eye protection, hearing, respiratory protection, durable gloves, and proper clothing, you extend your workshop's life and your own.This matters because every spark, splash, or kickback is a moment you don't want to bluff with luck alone. Apply what you've learned: pick up the essentials,check fit and maintenance,and integrate safety checks into every project,big or small. Explore a fresh project, dive into more guides, and make safety second nature-so your creativity can flourish with confidence.


Great article! I’ve learned the hard way the importance of investing in good safety gear. Can’t stress enough the need for quality face shields and ear protection-woodworking can be fun, but safety first!
Absolutely agree, Danielle! Having the right safety gear not only protects us but also allows us to focus on creating without the worry of injury. Always prioritize safety!
Safety gear is a game changer! I’ve had my share of close calls, and now I never start a project without my gloves, goggles, and dust mask. Better to be safe than sorry!
Couldn’t agree more, Danielle! It’s surprising how much of a difference proper ear protection and a sturdy dust mask can make. Plus, a good apron helps keep your clothes clean and adds an extra layer of safety when working with sharp tools. Always shop smart and stay safe!
Well said, everyone! It’s amazing how having the right gear, like a high-quality respirator and impact-resistant goggles, can make woodworking both safer and more enjoyable. We owe it to ourselves to stay protected while pursuing our passion!
Totally on board with all these comments! Investing in top-notch safety gear like heavy-duty gloves and a reliable dust collector is crucial for any woodworker. It’s all about enjoying the craft while keeping ourselves safe and healthy!
Well said, everyone! It’s so important to remember that safety should always come first in woodworking; investing in good gear not only protects us but also enhances our overall experience and creativity in the workshop!
Absolutely, Justin! It’s essential to prioritize our safety with the right gear, as it allows us to fully focus on our woodworking projects and unleash our creativity without unnecessary risks.
Absolutely, Chad! Having the right workshop safety gear is not just about compliance; it’s about fostering a safe and productive environment that allows us to truly immerse ourselves in our craft and tackle projects with confidence.
Absolutely! Prioritizing workshop safety gear not only protects us from potential hazards but also allows us to enjoy our woodworking projects with peace of mind, knowing we’re taking the necessary precautions to stay healthy and creative.
I couldn’t agree more! Safety gear is an absolute must; it allows us to work with confidence and focus on creating amazing pieces while minimizing the risk of injury. Let’s all keep prioritizing safety in our workshops!
I completely agree with everyone here! Having the right safety gear is crucial for ensuring our creative flow isn’t interrupted by preventable accidents; it empowers us to explore our woodworking passion while keeping ourselves safe and healthy.