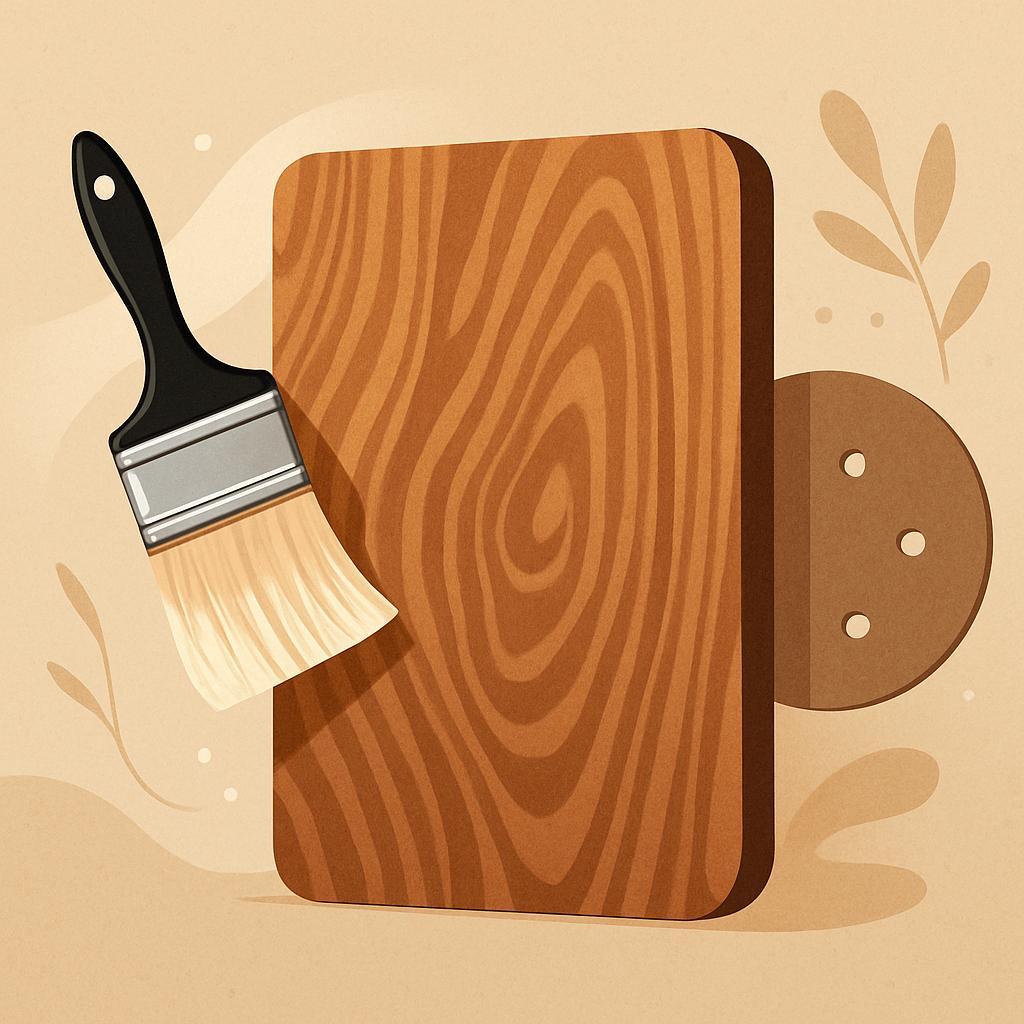
The final reveal isn't what you cut; it's what you seal. Finishing defines durability, communicates craft, and elevates simple boards into professional-looking furniture. For woodworking enthusiasts,mastering finishing is as critically important as any joinery as a well-applied finish protects,highlights grain,and endures the test of daily use. In this article, you'll explore proven finishing paths, from prep and sanding discipline to color, sheen, and protective coats. You'll learn when to stain versus using a clear finish, how to apply finishes evenly, troubleshoot common flaws, and tailor techniques to your wood species.
Surface preparation for a flawless professional wood look
To lay a flawless base, start with a careful assessment of the wood: look for dents, scratches, or splits along the grain and plan your plan of attack. Clean the surface to remove dust,oils,and residues by wiping with a damp microfiber cloth and letting it dry. If the piece carries any old finish,decide whether you will remove it entirely or scuff it for a new seal.Typically, a thorough sanding to bare wood is the most reliable path for a professional look.Choose your initial abrasive with intention-usually a coarse to medium grit around 120-150 to flatten uneven areas, then progress toward finer grits as the surface loosens its grip on imperfections.
Engage the sanding in long, even strokes aligned with the grain, using a steady rhythm and light pressure. For flat panels, switch to a sanding block or a random-orbit sander to avoid gouges; for curves and edges, hand-sand with a block to maintain square transitions. Keep the sander flat and moving to blend transitions, and frequently inspect the surface with raking light to reveal raised fibers or remaining scratches. finish with a thorough dust removal using a vacuum and a tack cloth before you move to the next stage.
Some woods benefit from grain filling and conditioning before color is applied. Open-pored species (like oak, ash, or maple with heavy pores) respond well to a lightweight grain filler applied after the initial sanding, then removed promptly to leave a level surface. Once filled and dry, give the surface a light final skim with 180-220 grit. For woods prone to blotching when stained (such as pine or maple), apply a pre-stain conditioner and follow the manufacturer's timing before staining; this helps achieve an even color. After any filler and conditioner, wipe down again and re-check for smoothness, addressing any tiny nibs or dust with a quick centering pass.
| Step | Grit | Purpose | Notes |
|---|---|---|---|
| Initial flattening | 120-150 | Even surface, remove defects | Sand with long, even strokes |
| Refinement | 180-220 | Smooth finish, ready for filler | Avoid cross-grain strokes |
| Final pass | 320 | Remove micro-scratches | Light contact, thorough dusting |
Establish a finishing mindset: test on scrap, check for uniform sheen and no dust; ensure moisture content is within a stable range for your wood (typically around 6-8% for many hardwoods); maintain a clean, well-lit workspace to prevent recontamination between steps; allow proper drying times between sealers and coatings to preserve the integrity of the surface.
Build Your Dream Workshop on a Budget →
Choosing finishes and sheens to enhance wood grain
Finishes and sheens do more than add color; they sculpt the wood's character by controlling reflections and how the grain reads under light. A satin sheen will reveal more depth than a flat finish, while a gloss can make figure leap with dramatic contrast. The key is to match the sheen to both the wood species and the room's lighting, then test on a scrap to see how the grain responds in daylight, lamplight, and even dim corners. Consider the environment: a kitchen island demands durability,while a bedroom dresser can pull off a more delicate glow.
Begin with a plan: decide whether you want to emphasize contrast or preserve a natural, tactile look. For warmth and longevity in busy spaces, pair a warm-toned stain with a durable satin or Semi-Gloss topcoat. If you crave a modern, crisp appearance, a light stain or even leaving the wood natural with a low-luster finish can work beautifully. A glaze can push grain into relief-apply a contrasting glaze into the recesses, then wipe back to taste. Always sand lightly between coats for a smooth, even surface and to ensure the next layer adheres well.
| Finish / Sheen | Effect on grain | Ideal uses | Notes |
|---|---|---|---|
| Flat / Matte | Grain appears soft with minimal glare | Rustic,industrial,modern minimal | Hides flaws; less durable; fingerprints less visible on lighter woods |
| satin | Warm,even glow; grain readable | Most furniture and cabinetry in living spaces | Balanced durability and appearance; scratches less noticeable than gloss |
| Semi-Gloss | Clearer depth; more reflective | Cabinetry,tables,high-traffic surfaces | Easier to wipe; more glare in radiant light |
| Gloss | Bright,dramatic grain pop | Statement pieces,show surfaces | Requires careful prep; highlights imperfections |
Practical submission tips: always test on a scrap from the same wood batch before committing to your project,and note how the finish dries in your shop conditions. Use quality brushes or foam applicators and follow manufacturer directions for dry times between coats. Lightly sand with a fine-grit between coats to remove dust nibs, then wipe with a clean tack cloth before applying the next layer. match your topcoat type to your stain (water-based over water-based, oil-based over oil-based) to maximize adhesion and color fidelity, and plan for a final, ultra-light hand-sand between the last coat and a thorough clean-up before use.
Build Your Dream Workshop on a Budget →
Precision sanding techniques for a smooth foundation
Achieving a flawless foundation begins with the right sanding plan. Start with a grit that is coarse enough to erase noticeable imperfections yet gentle enough to avoid carving new ones.For rough stock or pieces that arrive with factory finishes, begin around P80-P120 to flatten chatter and bring the surface true. For well-prepped stock or pieces with minimal machine marks, a lighter approach using P150-P180 can establish an evenly textured base. Always test on a scrap area or an inconspicuous corner to see how the wood responds,especially with softwoods or open-grain species,so you're not surprised when you move to larger surfaces.
Technique and motion matter as much as grit.Grip the random-orbit sander with a relaxed, steady pressure and let the pad do the work. Move in long, overlapping passes and follow the grain on the initial passes, then gradually drift to circular or figure-eight motions for even removal. Keep the sander flat to avoid gouges, and frequently lift to check the surface under natural light. Never press hard-you're seeking a smooth, controlled cut, not a scored finish. For woods with a pronounced grain, align passes with the grain to minimize visible scratches and achieve uniform sheen.
Progression at a glance provides a practical path from rough to refined. The table below outlines a sensible sequence, its primary purpose, and when to apply each grit range.
| Grit range | Primary purpose | When to use |
|---|---|---|
| P80-P120 | Flatten heavy imperfections | Rough stock, initial passes |
| P150-P180 | Even out machine marks | Pre-final surface |
| P220 | Create ultra-smooth foundation | Final prep before finish |
Finish-check and touch-up: dust removal, inspection, and blotch prevention. Once the surface feels perfectly smooth, remove all dust with a vacuum and a tack cloth. Inspect under strong raking light and run your fingers over the texture to confirm flatness. If you notice blotches or uneven sheen, perform a very light pass with P220 and, for softwoods prone to blotching, apply a pre-stain conditioner before finishing. After the last wipe, let the surface dry completely, then proceed with your chosen stain or topcoat.
Build Your Dream Workshop on a Budget →
Even stain application for consistent color and depth
Even staining begins with preparation that supports uniform color uptake. Start with a clean, dust-free surface and ensure the wood's porosity is even across panels. For softwoods or woods prone to blotching, consider a pre-stain conditioner or a sealant that balances absorption. always test your stain on a scrap piece or a hidden area to preview how it will darken as it dries,and mix batches to maintain consistent shade across the project.
To achieve an even, professional look, prioritize a consistent wet edge and steady motion. Apply the stain in the direction of the grain using a lint-free cloth, brush, or spray with back-brushing as needed.Work in small sections, and wipe off the excess within minutes to blend edges smoothly.If you notice unevenness, back-brush lightly while the coat is still damp and adjust grip to avoid pressure spots.For spray applications, maintain even passes and avoid lingering over one spot.
| Step | Action | Why |
|---|---|---|
| Prep surface | Clean and dust-free | Ensures even uptake |
| Test patch | Apply on scrap/hidden area | Preview color and absorption |
| Apply in sections | 4×4 ft sections following grain | Prevents edge misalignment |
| Wipe and blend | Wipe off excess and blend edges | Controls depth uniformity |
| Check color | Assess in natural light | Guides final coat decisions |
Layering is where depth lives. Start with a light base coat and let it dry fully before applying another. Thin coats dry more evenly and reduce blotch.Between coats, lightly scuff the surface with fine-grit sandpaper to neutralize raised grain and improve adhesion, then wipe away dust. Evaluate color under natural light and compare with your target shade; add a third coat only if you want richer depth. When satisfied,seal with a compatible topcoat to lock in color and finish.
Build Your Dream Workshop on a Budget →
Layering coats and drying times for a durable finish
Layering coats strategically is the surest path to a durable, professional-looking finish.Begin with a clean, dry surface and prepare it with a light, uniform abrading to open the grain.Use a compatible system-stain or dye, sealer, and topcoat-that behaves well together, and apply each coat in a smooth, even stroke to minimize solvent capture and brush marks. Thin coats, not heavy ones, yield fewer runs and a clearer, more even appearance, and they build depth without compromising cure time.
Drying and curing times depend on the finish you choose and the room conditions.In a typical workshop around 70°F (21°C) with moderate humidity, water-based finishes often reach a tack-free state in 30-60 minutes and can be recoated in 2-4 hours, while oil-based products may need 6-8 hours to dry to the touch and 16-24 hours before another coat. When temperatures drop or humidity rises, extend these windows and avoid rushing coats. Adequate air movement helps-use a gentle fan and keep dust insects away, but avoid blowing directly on fresh coats.
Between coats, plan for light sanding to promote adhesion and a silky final feel.Use a fine grit (around 320-400) sanding pad or paper, then wipe with a tack cloth or lint-free microfiber to remove dust. Do not over-sand, which can round edges or break color; instead, focus on creating a micro-scratch surface that the next coat can grip. Dust-free setup is essential-cover nearby objects, lay down clean drop cloths, and consider a dedicated finishing area to preserve your next coat's fidelity.
Quick-reference table for layering and recoat timing – use this at a glance to plan your coats and avoid timing missteps while you work.
| Finish | Typical recoat window | Notes |
|---|---|---|
| Water-based poly | 2-4 hours (ambient 70°F) | Lightly sand between coats |
| Oil-based poly | 16-24 hours | Ventilate well; longer cure |
| Gel stain + topcoat | 2-4 hours | Ensure stain is dry before topcoat |
Build Your Dream Workshop on a Budget →
Troubleshooting finish flaws and maintenance for longevity
Even with best practices, finishes can reveal flaws after curing. Common finish flaws to troubleshoot include orange peel, dust nibs, runs or sags, and a milky or hazy film. Start by isolating when the defect appeared: was the surface dust-free, were conditions within the product's recommended range, and did the substrate properly acclimate? A tactile check-gliding a gloved finger over the film-can help you gauge cure consistency and guide your next steps.
Fixing these issues requires a careful,staged approach rather than rushing to repaint. Begin by ensuring the surface is fully tack-free and that your environment matches the finish's recommended climate. Then, sand the affected area with a fine grit (typically 320-400) until it's smooth, using even, light passes to avoid creating new scratches. Clean the dust with a tack cloth,re-wipe,and apply a thin,even second coat,watching for consistency and avoiding heavy runs.For larger defects, consider sanding back to bare wood and starting the finish again with the correct sealer or primer as dictated by the system.
- Wait until dry and dust-free
- Lightly sand with 320-400 grit
- Remove dust with a tack cloth
- Apply a thin, even second coat and check for uniform sheen
To maintain longevity, establish a simple upkeep routine that reduces the chance of flaws reappearing and protects the wood over time. Keep the workshop climate steady during finishing, use clean tools and PPE, and store finishing products upright and sealed. regular cleaning of the finished surface with a microfiber cloth or a mild, non-abrasive cleaner helps prevent buildup that could affect sheen. Schedule periodic refresh coats based on use and exposure; for high-traffic pieces, plan an annual light top-up rather than waiting for visible wear.
| Finish flaw | Common causes | Practical fix |
|---|---|---|
| Orange peel | Uneven brushing, air pressure, too thick coats | Thin coats, adjust technique, maintain stable temp/humidity |
| Dust nibs | Dust in air, poor filtration | Mask off area, tack cloth, improve air filtration |
| Runs/sags | Overworking or thick coats | apply thin coats; recoat after full cure |
| Milky haze | Improper curing, moisture | Ensure dry substrate, proper venting; consider recoat |
Build Your dream Workshop on a Budget →
Q&A
Which finish best delivers a professional wood look while staying durable?
Consider the environment and desired look: water-based poly provides clear color with minimal ambering, while oil-based poly adds warmth but can yellow over time. For a ultra-smooth, high-gloss surface, lacquer or spray-applied poly can shine-always test on scrap first.
How can I avoid brush marks and achieve a glassy, even surface?
Apply thin coats with long, even strokes and don't overwork the finish. Sand lightly between coats with 320-400 grit and wipe away dust before applying the next layer; for the smoothest result, consider spray application or a high-quality pad.
What steps help prevent blotching when staining open-grain woods like maple or birch?
Apply a pre-stain conditioner to even out penetration, especially on blotchy woods.Always test the stain on scrap to gauge color; apply evenly and wipe off excess within the recommended time, then let dry before topcoating.
How can I ensure the finish remains durable and color-stable over time?
Use a UV-resistant topcoat and apply multiple thin coats rather than one thick layer.Maintain proper climate during curing, and follow care guidelines-clean with a soft cloth and avoid harsh solvents that can dull the finish.
The Way Forward
Mastery in finishing isn't about a single trick but the relationship you build with your wood over time. The key takeaway is simple: careful prep, intentional choices of stain or topcoat, and patient layering create a professional look that honors the wood's character. When you invest in sanding, masking, and testing on scraps, you unlock results that speak to craft and care. For woodworking enthusiasts, finishing is where ideas meet reality and projects gain longevity. So grab a sample board, try a new technique on a small piece, or dive into another guide. With persistence, your work will finish with confidence and a quiet glow.


This is such an important topic! Mastering these finishing techniques can really elevate any woodworking project and give it that polished, professional appearance. Can’t wait to try out some of these tips!
Absolutely agree, Sean! The right finishing techniques can transform a piece from ordinary to extraordinary. I’m eager to learn more about the best practices to achieve that stunning, professional wood look!
I couldn’t agree more, Sean and Craig! The finishing process is often overlooked, but it’s crucial for bringing out the beauty of the wood and ensuring a long-lasting finish. I’m excited to dive into these techniques and elevate my woodworking projects!
I completely resonate with all of you! Each of these finishing techniques not only enhances the aesthetics of our projects but also protects the wood, making it essential for any serious woodworker. Looking forward to implementing these tips for a beautifully finished look!
Totally on board with everyone here! Mastering finishing techniques is not just about looks; it’s about longevity and protection too. I’m excited to refine my skills and see how these methods can bring out the natural beauty of my wood projects!
I’m thrilled to see everyone so passionate about mastering finishing techniques! They really do make a world of difference in achieving that refined, professional look while also protecting our hard work. Excited to try out new methods and share our progress!
I’m really enjoying this conversation! It’s clear that mastering these finishing techniques is vital for any woodworker who wants to elevate their projects. I can’t wait to experiment with different methods and achieve that polished, professional finish we all strive for!
I’m so glad to see everyone sharing their enthusiasm for finishing techniques! It’s amazing how the right approach can transform a piece and really highlight the wood’s natural character. Can’t wait to put these insights into practice and see how they elevate my projects to the next level!
I love how this discussion highlights the importance of finishing techniques! They truly play a crucial role in not just enhancing the visual appeal of our projects but also ensuring they stand the test of time. I’m eager to experiment with some new ideas and share the results with everyone!
I’m really inspired by this discussion on finishing techniques! It’s fascinating how so many aspects come together to enhance the final look of our wood projects while also providing the protection they need. I’m looking forward to trying out the suggestions shared here and seeing how they can transform my work!
I’m loving the energy in this discussion about finishing techniques! It’s amazing how a good finish can take a wood project from good to great, showcasing the craftsmanship and ensuring longevity. I’m eager to apply some of these ideas in my work and see the difference for myself!
I’m thrilled to see such passion and enthusiasm for finishing techniques! It’s incredible how the right finish can make all the difference in showcasing the beauty and intricacies of wood while providing essential protection. I’m excited to try out some of the suggestions mentioned here and can’t wait to share my progress with everyone!
I appreciate all the insights being shared about finishing techniques! It’s remarkable how the right finish can not only enhance the aesthetics of wood but also extend its lifespan. I’m excited to experiment with some of these techniques and look forward to seeing how they can elevate my woodworking projects!