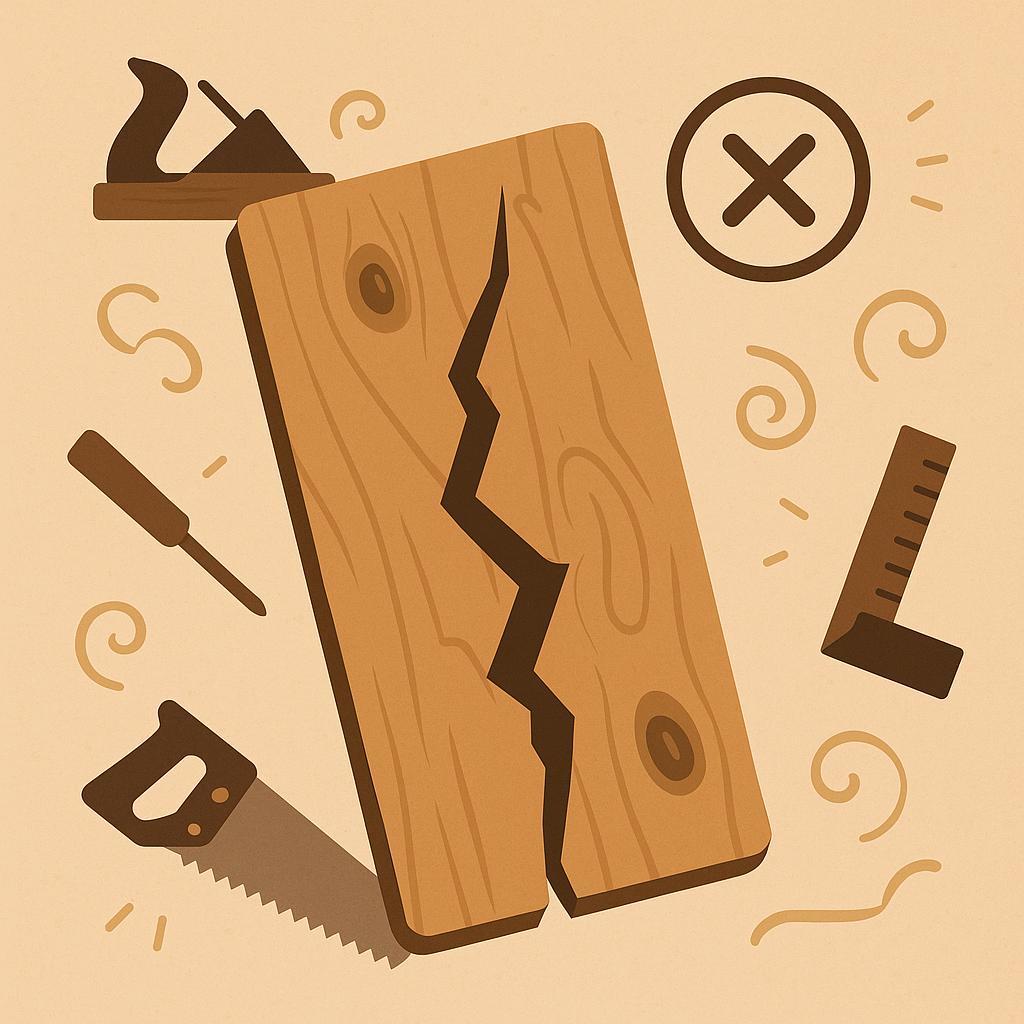
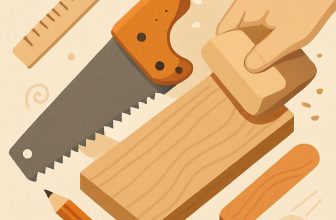
one wrong cut can turn a dream project into a costly lesson. Woodworking enthusiasts know that small mistakes cascade into wasted time,wasted material,and lost momentum. That's why this guide matters: it helps you build accuracy, confidence, and safety from the very first project. Inside, you'll find clear explanations of common traps and practical fixes-measuring, planning, tool setup, joinery, sanding, and finishing. By the end, you'll read plans with more confidence, select the right stock, test fits, and complete projects with cleaner joins.
spotting Common Woodworking Mistakes Beginners Make and How to Avoid Them
Beginners often rush thru their first cuts and end up with wavy edges, splintered grain, or pieces that don't fit. Common culprits include working with dull blades, not aligning the stock with the blade, and ignoring grain direction when planing or sawing. The fix is simple but powerful: slow down, inspect your stock, and set up a reliable process before making a cut. By building a habit of deliberate checks, you reduce waste and frustration while your pieces start to come together with a cleaner look.
Another frequent pitfall is misreading the layout or failing to mark the line clearly.Measure twice and mark once, using a sharp pencil, a good square, and a straight edge. When possible, make test cuts on scrap with the same thickness and grain as your project. Leave a little extra material for final trimming rather than forcing a cut to the exact size. This careful planning saves trips to the bench and protects against undersized parts or misaligned joints.
Tool setup and safety mistakes are frequently enough the quiet winners of sloppy outcomes. Dull blades burn and tear instead of cut, clamps fail to hold, and push sticks or stops are overlooked. Use sharp blades appropriate for the task, secure your work with reliable clamps, and create a dedicated cut line with a stop block for repetitive lengths. A simple push stick or featherboard can be the difference between a clean edge and a dangerous slip.
| Mistake | Fix | Why it matters |
|---|---|---|
| Working with dull blades | Sharpen or replace, test cut on scrap | Prevents tearing and burns |
| Not using clamps | Clamp stock securely; use a featherboard | Prevents movement and kickback |
| Ignoring grain direction | Plan the cut with grain; trim accordingly | Reduces tear-out and misalignment |
| Rushing to finish | Plan, measure, test cut, then cut | improves accuracy and safety |
cultivate patience and a routine for post-work checks. Record what worked well and what misbehaved, and re-check your measurements after a dry-fit before any final assembly. Start with small, achievable projects to build muscle memory and confidence, and gradually introduce new techniques as your skill grows. With a mindful approach, your first pieces will fit together with less guesswork and more craft.
Get Instant Access to 16,000+ Woodworking Plans →
Planning and Measurement Essentials for Beginners to Prevent Poor Fits and Waste
Planning sets the stage for accuracy and minimizes waste. Begin with a clean sketch or a simple cut list that names every part and its required dimension, then translate that into precise cut lengths.Measure the actual stock before cutting, noting any thickness variation and potential planing needs. Build in kerf allowances for your saw and a little extra for framing and assembly so pieces don't come up short. Label boards clearly and cross-check the plan against the real pieces as you go.
Equip yourself with reliable tools and a disciplined measurement routine. Use a steel tape, a combination square, a marking gauge, and a sharp pencil. Measure twice, cut once, and verify critical dimensions from multiple reference points to catch misreads. For frames or rectangular assemblies, check squareness by comparing diagonals; if they don't match, re-check a corner or repartition pieces. Clear labeling of each part's orientation will save you from flips and mismatches during assembly.
Before committing to the final cuts, perform a dry-fit with scrap stock to confirm that everything aligns. look for tight but not forced joints, straight edges, and plumb surfaces. If anything binds, revisit the plan, adjust your cut or thickness, and re-measure. This small validation step saves material and frustration and turns a tentative fit into a confident build.
| Measurement | Why it matters | Tip |
|---|---|---|
| Stock length | fits final layout | Measure twice; cut once |
| Stock width/thickness | Affects joinery and fit | Calibrate tools; plan for planing if needed |
| Blade kerf | Cut width affects layout | Subtract kerf when laying out parts |
Get Instant Access to 16,000+ Woodworking Plans →
Tool Setup and Safety Best Practices for Beginners in Woodworking
Begin with a solid foundation: a clean, well-lit workspace at a cozy height, a sturdy workbench, and a clear floor free of trip hazards. Set up power tools within easy reach but with the switch accessible so you can cut power instantly if somthing goes wrong. Organize your most-used blades, bits, and clamps in labeled bins, and keep a small scrap pile handy for testing cuts. Building a habit of a thoughtful setup reduces rushed mistakes and makes every project more predictable.
Protect yourself and your crew by embracing PPE and tool hygiene from day one. Wear safety glasses or a face shield, hearing protection, and a dust mask or respirator when sanding or dust generation is high. Keep hair tied back, remove dangling jewelry, and store cords so they won't catch on a spinning blade. Regularly inspect blades and bits for cracks or dull spots; a sharp, clean edge is safer and easier to control.
Before you turn on any electrical tool, run a quick safety and setup check. Secure the workpiece with clamps or a vise, verify the blade or bit is sharp and properly mounted, and align fences or guides precisely. Consider a test cut on scrap to confirm height, depth, and alignment before committing to your actual piece. use push sticks, stops, and guards where appropriate, and unplug tools before changing blades or making adjustments to avoid accidental starts.
| Tool | Setup Step | Safety Tip |
|---|---|---|
| Table Saw | Align fence and blade; set blade depth | Use riving knife and push sticks; stand to the side of the cut |
| Miter Saw | Lock fence; set accurate angle | Wait for blade to stop; keep hands away from blade path |
| Router | Secure bit with proper collet; tighten router base | Route against grain; use a pattern or backer board |
| Drill Press | Set correct speed and feed; align workpiece | Clamp workpiece; keep fingers clear of drill |
| Band Saw | Check blade tension; align guides | Keep blade tracking and guards in place |
embed maintenance into your routine. Clean and inspect your tools after each session, sharpen blades on a regular schedule, and keep a simple log of what you did and what needs attention. Store tools in their designated spots so you know where everything belongs, and empty dust collection bags or bins to sustain airflow. Adopting a consistent maintenance ritual protects your investment and reduces the odds of avoidable mistakes.
Get Instant Access to 16,000+ Woodworking Plans →
Material Selection and Preparation for Beginners to Reduce Defects
When you begin choosing materials for a project,look for boards that invite precise cuts and reliable results. Prioritize straight grain and minimal defects, such as twists or cupping. For beginners, stable species like pine, poplar, and certain maples tend to behave predictably and respond well to hand or power tools. Inspect boards for sections that appear cupped or twisted, and check for hidden checks along the ends that can compromise joints later. If possible, buy stock that's already planed and jointed to reduce initial effort, but be prepared to surface suspect areas with a sharp plane or scraper before starting a cut.
Moisture management is critical. Stock that is too wet or too dry will move after assembly, causing gaps, glue failure, or binding. Use a moisture meter or consult the board's labeling to estimate its content; target a stable range appropriate to your climate and project. Typically, acclimate stock in your shop for at least a week or two, stacked with stickers to promote air flow. Keep boards off concrete and away from direct heat or sun,and rearrange stacks to equalize moisture across the batch. If you plan a project with a particular joint, assume some seasonal change and leave a little extra material to tune things later.
To help you assess options quickly, here is a concise reference:
| Wood Type | key Defects to Check | Best Uses |
|---|---|---|
| Softwoods (Pine, Fir) | Warp, resin pockets, splits | frames, panels, simple boxes |
| Hardwoods (Maple, Oak) | Distortion, heavy checks, pencil marks | Furniture parts, assembly components |
prep with a deliberate workflow that reduces stress on your tools and joints. plan your cut list first, rough-cut stock to near-final dimensions, then surface with a sharp plane or sanding block. Keep tools clean and edges sharp to minimize tear-out,and dry-fit critical joints before applying glue. Use appropriate adhesives and clamping strategies, and allow finishes to cure fully before stressing the joints. by pairing thoughtful material selection with deliberate preparation, you'll dramatically cut common defects and set the project up for smooth, satisfying results.
Get Instant Access to 16,000+ Woodworking Plans →
Precision Joinery and Fastening Techniques for Durable Wood Projects
Precision joinery and reliable fastening are the backbone of durable wood projects. Start with straight, square stock, true edges, and a clear plan for which joints will carry the load. Use marking gauges, a reliable combination square, and a sharp pencil to lay out every line, then dry-fit components before glue goes near the wood. When parts align snugly during dry-fit, you can fine-tune with clamps and cauls to keep edges square as you assemble. Remember, the tighter your initial fit, the less you fight gaps and movement later in finishing.
choosing the right joint or fastener is as important as cutting accurately. For frames or carcasses, mortise and tenon or sturdy dowel joints offer real strength. For quick, clean panel work, pocket screws or biscuits can speed assembly without sacrificing too much strength. Keep to joints that suit the scale of your project and the equipment you own; don't overcomplicate a simple piece with an overly fancy joinery method.
| joinery Type | Best For | Pros | Cons |
|---|---|---|---|
| Mortise and Tenon | Frame & structural parts | Very strong,durable | Requires chiseling and careful fit |
| Dowels | Alignment across surfaces | Simple tools,repeatable | Requires precise alignment |
| Pocket Screws | Quick builds,repairs | Fast,strong in many cases | Visible holes on some pieces |
| Biscuits | panel alignment | Fast setup | Less strength than mortise/tenon |
When you assemble,plan the sequence so edges stay aligned as you go.Use clamps or cauls to apply even pressure across joints, and check squareness after every step. Apply glue sparingly-a thin bead along the joint is usually enough-then wipe away squeeze-out before it skins.Practice drill-and-place: predrill pilot holes for screws to reduce grain splitting, and drive fasteners only after the glue has had a moment to grab. Dry-fitting with temporary fasteners can reveal hidden misalignments before you commit to permanent hardware.
Finish is the final test of durability. After joints have cured, inspect for gaps and run a light pass with sandpaper to soften any sharp edges that could irritate the joint under stress. If you must adjust, disassemble and re-fit rather than forcing a misaligned joint. By pairing precise cuts with controlled fastening and patient glue-ups, you'll build projects that endure use and time, not just look right on day one.
Get Instant Access to 16,000+ Woodworking Plans →
Finishing Best Practices for Beginners to Avoid Surface Flaws and Inconsistencies
Preparation sets the stage for a flawless finish. Start with clean, dry wood and remove oils, wax, and dust. Wipe surfaces with a tack cloth after planing and sanding, and keep your workshop climate steady to minimize moisture swings that can cause finishes to cloud or crack. A light, even touch with a sharp sanding block reduces tear-out and yields a uniform surface that the finish can bond to. If you spot grain tear-out or rough edges, address them with careful, progressive sanding rather than aggressive scraping.
Use a deliberate sanding progression to avoid surface flaws. For most woods,begin with 120-150 grit to knock down tool marks,then move to 180,and finish with 220 for a smooth,even base. always sand with the grain and check under angled light to reveal remaining scratches. If a damp cloth raises the grain,allow it to dry completely and re-sand with 320-400 grit before sealing.
| Finish type | Prep sanding | Intercoat sanding | Notes |
|---|---|---|---|
| Dewaxed shellac sealer | N/A | 320-400 | Great blotch control on soft woods |
| Water-based polyurethane | 150-220 | 320-400 | clear, fast-drying |
| Oil-based wipe-on polyurethane | 180-220 | 320-400 | Warm depth; longer cure |
Finish with intention: thin, even coats beat heavy builds. Apply a light first coat, let it level, then sand with 320-400 grit and wipe away dust with a tack cloth. Repeat for two or three coats as needed, depending on the product and project. Test your finish on a scrap piece or inconspicuous area to verify color, clarity, and adhesion. For blotch-prone woods, seal with dewaxed shellac before applying color, then topcoat with a compatible finish. The table below offers quick-start guidance to help you plan your approach.
Get Instant Access to 16,000+ Woodworking Plans →
Q&A
What's the first mistake beginners should avoid when starting a project?
Underplanning a project leads to rushed cuts and mismatched parts. Take time to sketch a simple plan, write a cut list, and double-check measurements before you touch any tool. Practice on scrap stock to validate your layout and fit before working on the final piece.
How can I choose the right tool for a task to minimize mistakes?
Match the tool to the task and keep it sharp and well-tuned.Use the correct saw type (e.g., crosscut vs. rip) and guards,and work with clean,stable stock. When in doubt, start with scrap stock to dial in your setup.
What's a reliable method to ensure accurate measurements and markings?
Measure twice, mark once, and consider a third check with a different instrument. Use a square or marking gauge for straight lines and right angles, and verify against your plan before cutting. A quick dry-fit on scrap helps catch mistakes early.
How can I prevent tear-out or chipping when cutting or routing?
Use sharp blades and appropriate feeds, and support the wood with a backer board or clamps. Set the blade height just above the surface for clean cuts and consider alternate passes to avoid tearing. Take light passes and stop when you reach a clean line.
Insights and Conclusions
Ultimately, the core message is simple: good results come from careful planning, precise measuring, and learning from small errors early on. Treat mistakes as feedback, not failure, and let every project sharpen your eye for fit, finish, and safety. for woodworkers, this matters because craft turns rough lumber into reliable pieces and confidence into steady progress. If you're itching to put wisdom into practice, start a small, doable project, skim through another guide, or annotate this one with your own notes. Equip yourself with patience,respect the material,and keep a curious mind. With steady hands and a patient heart, your next creation awaits.


Great tips! It’s so easy to overlook the basics when starting out, but understanding these common mistakes can really make a difference in the quality of your work. Thanks for sharing!
Absolutely! Taking the time to learn about these mistakes can save so much frustration down the line and help us become more confident in our skills-appreciate the insights!
This is a fantastic resource for beginners! Recognizing these common pitfalls not only helps improve our craftsmanship but also makes the woodworking journey so much more enjoyable. Keep up the great work!
I couldn’t agree more! Learning from these common mistakes is essential for any beginner; it not only enhances your skills but also boosts your confidence. This guide is invaluable-thank you for sharing these insights with us!
I love this post! It’s so important for beginners to be aware of potential mistakes before diving in, as it can really set the foundation for successful projects. Thanks for putting together such helpful advice!
These insights are incredibly valuable! It’s amazing how avoiding a few common errors can significantly enhance our woodworking experience and results. Thanks for sharing such practical and encouraging advice for all of us beginners!
This guide is a must-read for anyone starting out in woodworking! Understanding these common mistakes not only streamlines the learning process but also helps build a strong foundation for our future projects. Thank you for sharing such practical tips and encouragement for newcomers!
What an excellent resource for newbies in woodworking! Identifying and steering clear of common mistakes really empowers beginners and fosters a more enjoyable experience in creating beautiful projects. Thank you for sharing such insightful advice!
This guide is fantastic for anyone new to woodworking! Recognizing and avoiding common pitfalls can make a huge difference in not just the quality of our work but also in the overall enjoyment of the process. Huge thanks for providing such helpful information!
This guide is a game changer for beginners! Being aware of common mistakes ahead of time not only saves frustration but also boosts confidence in our woodworking journey. Thanks for putting this essential resource together-it’ll definitely help us make better projects!
This guide is a lifesaver! By highlighting common mistakes, it empowers beginners like us to approach woodworking with more knowledge and confidence. Thank you for creating such a valuable resource that will undoubtedly lead to more successful projects and a richer learning experience!