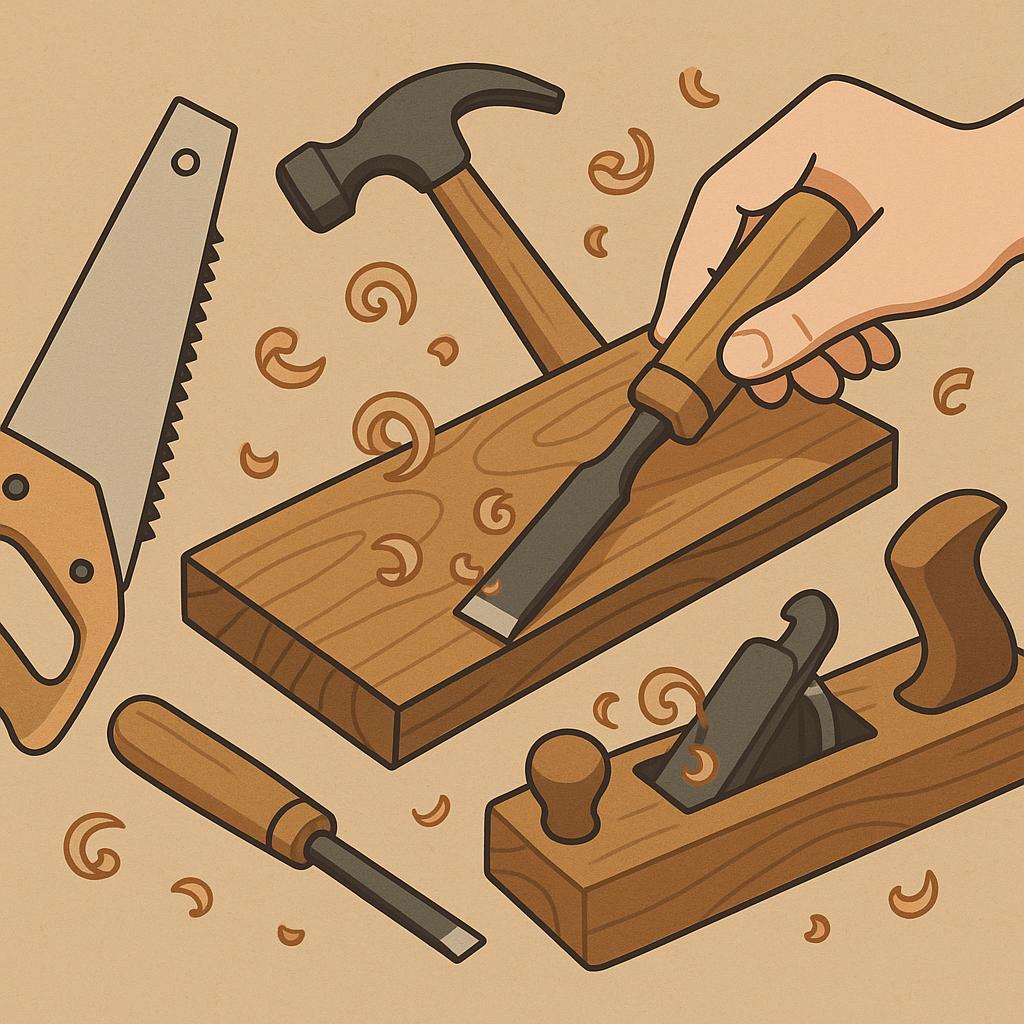
Grab a chisel, and a block of wood becomes a story waiting to be shaped. This beginner's guide to using hand tools in woodworking shows why that story matters-precision, patience, and shared craft across generations. For enthusiasts, hand tools offer control, tactile feedback, and a reliable way to start any project before power tools. You'll learn how to pick essential tools, grip and stance, marking and measuring, basic cutting and planing techniques, sharpening, and safety routines, plus simple setups to practice. By the end, you'll gain confidence to tackle small pieces with accuracy and to foster a deeper relationship with material and process.
:
Mastering the Essentials of Hand Tools for Woodworking
start with a compact, pragmatic toolkit that covers measuring, marking, cutting, and smoothing. For accuracy, anchor your routine around three essential measuring tools: a metal ruler for straight measurements, a combination square for squaring edges, and a marking gauge to transfer precise dimensions. Complement these with a sharp marking knife to deliver clean layout lines that won't wash away grain. Pairing the right tool with a tidy bench makes alignment feel almost effortless and helps you avoid creeping errors before the first cut.
choosing cutting tools and chisels with intention pays dividends as soon as you begin to cut. A reliable hand saw (start with a general-purpose crosscut or backsaw for finer work) should cut freely with a thin kerf and comfortable heft. Check the teeth for even set, ensure the blade is straight, and test a shallow cut on scrap before committing to your project. For paring tasks and fine fits, bevel-edge chisels in common sizes (1/4″, 1/2″, and 3/4″) are your best allies; keep them sharp and maintain a gentle bevel so you don't gouge the wood. A small wooden mallet helps avoid mushrooming the chisel handles and keeps your workpiece safe from hammer marks.
Planes and sharpening are the gears that keep all other work honest. A block plane or smoother is ideal for removing small amounts of material and smoothing faces, while a jack plane handles heavier stock removal. Sharpen regularly: flatten the back, establish a flat bevel, and hone to a fine edge. A simple sharpening routine using a few grits and a honing guide will maintain edge geometry and reduce tear-out. Store your blades with the edge protected and wipe them down after use to prevent rust. With a disciplined routine, the tools become extensions of your hand rather than obstacles in the workshop.
To build confidence quickly, craft a small, forgiving project-like a shallow box or a simple frame-focusing on accurate layout, square joints, and clean edges. Practice with scraps of varying grain direction to learn how wood behaves and how to adjust for tear-out. as you progress, gradually add a second plane or a dedicated marking knife to your kit and refine your grip and stance for comfort over longer sessions. The goal isn't speed, but repeatable results you can trust on every cut.
get Instant Access to 16,000+ Woodworking Plans →
Selecting Planes Saws and files for Beginners
Choosing planes, saws, and files as a beginner is about clarity and control. Start with a compact starter set that handles common tasks: flattening faces, squaring edges, smoothing surfaces, and accurate cuts. A well-fit tool feels effortless in your hand, so prioritize ergonomics and balance over sheer expense. Commit to a few reliable basics, learn how they cut, and your confidence will grow with your woodcraft.
To ground your choices, here's a quick snapshot of three staple planes and what to look for when you shop:
| Tool | Typical Use | Buying Tips |
|---|---|---|
| Block plane | Trimming edges and end grain; fine-tuning surfaces | Low-angle design, comfortable grip, adjustable mouth |
| Jack plane | Flattening large faces; removing high spots | longer iron, solid frog, good alignment |
| Jointer plane | Face and edge straightening; preparing long edges | Extra length for true surfaces; ensure the sole is straight |
When you're ready to buy, assemble a practical starter kit and a simple upkeep plan. A balanced selection keeps you moving through tasks without fighting tools. Consider these core pieces to begin with:
- Block plane – for smoothing and fine-tuning edges; look for a comfortable grip and adjustable mouth.
- Jack plane – for flattening and initial stock removal; ensure a sturdy body and reliable blade seating.
- Backsaw or dovetail saw – for accurate crosscuts and fine joinery; pick a handle that fits your grip.
- Flat and round files – for shaping edges and refining joints; start with coarse and fine grades.
- Sharpening setup – a basic stone and honing guide to keep blades sharp and consistent.
With these, you'll build technique and confidence, and you'll know when to add more specialized tools as your projects grow.
Get Instant Access to 16,000+ Woodworking Plans →
Safe Handling and Workspace Setup for Confident Woodworking
Start by setting up a clean, well-lit workspace where every cut begins with control. A clutter-free bench and steady lighting help you see grain lines, measure accurately, and reduce the chance of slips. Make safety gear a default step before you touch any tool: eye protection that fits, a dust mask when dust is present, and hearing protection if your space is loud. When safety becomes a habit, confident woodworking follows naturally.
Grip and posture matter as much as the tool itself. Hold chisels and planes with a relaxed, solid grip, keeping wrists aligned with the forearm and elbows tucked in. Secure the workpiece with clamps or a vise, especially for long or end-grain cuts, so your hands stay clear of the blade. Always inspect a tool's edge before use; a sharp edge is safer and more predictable than a dull one that takes extra force and invites slips. After each cut, set the tool down safely and keep your hands away from the path of travel.
| Safety Item | Why it matters |
|---|---|
| eye protection | Protects against flying chips and dust |
| Sharp edges | Requires less force, reducing slips and mistakes |
| Secure clamping | Keeps material steady and predictable |
Design a simple, repeatable workflow to keep risk low. Keep essential tools within reach, store others in labeled drawers, and clear shavings and dust regularly to maintain a stable surface. Wipe down tools after use to prevent rust, and schedule routine sharpening so edges stay responsive and safe to handle.
Get Instant Access to 16,000+ Woodworking Plans →
Sharpening Blades and Maintaining Edge Quality for Precision
Sharp edges are the core of precision in hand-tool woodworking. Dull edges can drift,tear grain,and force extra passes that damage stock. Regular assessment of edge quality-look for a fine sheen,feel with a fingernail,and test cuts on scrap-helps you catch dulling early. Approach sharpening as a precision habit: small, controlled steps, clean stone surfaces, and a steady, consistent angle yield repeatable results.
Begin with a proper workflow: inspect for nicks, flatten the back of chisels and plane irons on a stable surface using appropriate abrasive, then establish or refresh the primary bevel with a dedicated honing guide to minimize wobble. Progress through grits in sequence: rough to remove material (e.g., 400-600 for backs or re-flattening), then mid-range (1000-2000) to set the edge, and finally high grits (4000-8000) for a fine, keen edge. A light touch and frequent stropping maintain micro bevels and edge quality.
| Tool | Recommended Grit | Purpose | Notes |
|---|---|---|---|
| Back Flattening (Chisel/Plane Iron) | 400-600 | Flatten back and remove dullness | keep a flat surface on a stable stone |
| Primary Bevel Edge | 1000-2000 | Establish main bevel | Use a honing guide for consistency |
| Micro-Bevel / Fine Edge | 4000-8000 | Refine edge and durability | Light pressure; maintain uniform angle |
| Polish / Strop | 12,000 | Remove burr and polish edge | Leather or fabric with compound |
Practical tips for maintaining edge quality during work include keeping blades dry, wiping away resin, and oiling lightly to prevent rust. Use a dedicated honing oil or water,depending on stone type,and always work on a flat stone surface to avoid rounding the edge. store blades with guards or sheaths and keep humidity in check. periodic lapping or resurfacing of the back keeps true contact over the entire edge, which translates into cleaner cuts.
Test edge quality with simple checks: shave a single hair test, observe a fine sawdust shearing, or make a few light passes on scrap to confirm clean exit without tearing. For long sessions, schedule a quick touch-up between projects. Consistency is king-a small, deliberate sharpening routine yields better precision than chasing a razor finish sporadically.
get Instant Access to 16,000+ woodworking Plans →
Reading Wood Grain and Marking layouts for Accurate Cuts
Reading wood grain direction begins with a careful look at how the fibers run across the surface.Inspect both face and end grain to determine the dominant direction, noticing straight, running fibers on stable boards and the subtle curls or figure that hint at future tear-out. When planning your cuts,align them to travel with the grain whenever possible,and mark from the waste side so your finished face stays clean.
Once the grain direction is clear, lay out the cut with precision. Use a marking gauge or a sharp marking knife to scribe a clear, narrow line; for rough-sawn stock a pencil line aligned with the kerf is acceptable, but a knife line remains more durable. For crosscuts, place the line perpendicular to the grain and clamp securely; for rip cuts, run the reference line along the edge and guide the saw with a straightedge to minimize drift; in figured wood, add a sacrificial backer strip to reduce tear-out on the cut surface.
Before you cut,test your plan on scrap to verify alignment and kerf compensation. Do a dry run by placing the saw just outside the line and confirm that your final cut will land where intended. Remember to keep your stock flat and supported, work slowly through the grain, and check that the final edge is true and square; adjusting your layout habits now pays dividends on every future project.
| Grain Orientation | Recommended Cut | Pro tips |
|---|---|---|
| With the grain (longitudinal) | Ripping or long cross-cut | Keep blade aligned with fibers; use a backer board; account for kerf |
| Across the grain (perpendicular) | Crosscut | Score first; clamp securely; support with backer stock |
| End grain / figured grain | Controlled cuts; planing direction | Tape surface; take light passes; use backer |
Get Instant Access to 16,000+ Woodworking Plans →
Basic Joinery Techniques for Strong Clean Assemblies
Strong, clean assemblies begin with selecting a joinery approach that respects the wood and the project. When you align parts true, cut crisp shoulders, and maintain square faces, joints bite tightly without forcing glue or clamps. For beginners, anchor your practice on a few dependable hand-tool joints-mortise and tenon, dovetail, and box joint-before moving to more specialized methods.
Prepare stock by flattening faces and edges with a straightedge and a hand plane or a smooth plane. Mark carefully using a sharp marking knife or pencil and a marking gauge so each cut follows a precise line. Cut shoulders and cheeks with a backsaw or tenon saw, then pare the joints to fit with a sharp chisel and a mallet. For a mortise and tenon, carve the mortise first and then shape the corresponding tenon; the goal is an easy dry-fit with minimal wobble and no gaps.
Each joint has a strength profile, so choose based on load, movement, and visibility.
| Joint | Best Use | Common Tools | Notes |
|---|---|---|---|
| Mortise and Tenon | Frames, doors, rails | backsaw/ Tenon saw, mortise chisel, chisel | Half-blind or through; very strong |
| Dovetail | Drawers, boxes | dovetail saw, marking gauge, paring chisel | excellent glue surface and resistance |
| Box Joint | Boxes, cases | Backsaw or panel saw, chisel | Linear, easy to align; strong glue surface |
| Dowel | Quick reinforcement | Brace and bit or small drill, dowels, glue | Fast; less visible than some joints |
Finish with assembly and care: apply a thin, even bead of glue and clamp squarely until set. Wipe away excess along the joint, then trim any overhang with a block plane or chisel for a clean edge. Allow for wood movement with seasonal gaps if needed, and dry-fit the project after glue to ensure alignment remains true. With practice, your joints will become quieter, your surfaces smoother, and your assemblies sturdier with less fuss.
Get instant Access to 16,000+ Woodworking Plans →
Q&A
What basic hand tools should I start with?
Begin with a small, reliable set: a hammer (8-16 oz), a couple of screwdrivers, a folding or steel rule, a combination square, a marking knife or pencil, and a few chisels (start with about 1/4″ and 1/2″). Add a backsaw or junior hacksaw and a block plane as you take on more projects. Prioritize quality where it counts and choose comfortable handles to build good habits from the start.
How should I safely use a hammer and nails?
Secure your work and keep fingers clear of the nail's path; hold the nail near the head to prevent slipping. Start nails at a slight angle, then drive straight and square, checking as you go. If a nail bends, pull it and start fresh in a new spot rather of forcing it.
How do I sharpen chisels and maintain their edge?
Keep the bevel flat on a sharpening stone and work at a steady angle, then refine the back to remove burrs. Hone the edge regularly with a fine stone or strop,and dry the chisel after use to prevent rust. Check sharpness with a light test cut in soft wood to ensure it bites cleanly.
What are common mistakes to avoid when starting with hand tools?
Avoid dull blades, forcing cuts, or working without clamps; these lead to slips and damaged pieces. Don't rush your layouts-double-check grain direction and measurement before cutting. Practice on scrap wood and wear basic safety gear to build confidence before tackling precision work.
In Retrospect
Mastery with hand tools isn't about speed or flashy technique; its about listening to wood, honoring its grain, and building confidence one careful cut at a time. The key takeaway is simple: sharp, well‑fitted tools paired with patient measuring and safe habits empower you to shape what you imagine, even on small projects. for woodworking enthusiasts, that practical control opens doors to broader creativity, less reliance on power machines, and enduring satisfaction in every joint. So pick a project, dust off your plane or saw, and apply these basics. Explore more guides, practice daily, and watch your ideas take solid, satisfying form.


This is such a helpful guide! I’ve always been intimidated by hand tools, but your tips make it seem so much more approachable. Thanks for breaking it down!
I completely agree with Marilyn! This guide really demystifies hand tools and makes it accessible for beginners like me. Can’t wait to try out some of these techniques!
I love how this guide emphasizes the importance of mastering hand tools; it’s such a foundational skill that elevates any woodworking project. Excited to put these tips into practice!
This guide is a game-changer! I appreciate how you’ve covered the basics while also inspiring confidence in using hand tools. It’s great to finally feel like I can tackle projects without being overwhelmed!
Thank you for creating such an encouraging resource! As someone who’s just starting out, I find the step-by-step approach incredibly helpful, and it makes the whole process feel less daunting. Can’t wait to dive in and start crafting!
This guide is a fantastic starting point! I love how it makes hand tools feel approachable and demystifies techniques that can seem intimidating at first. I’m excited to learn and try my hand at some projects!
What an excellent resource! I appreciate how clearly you explain each tool’s use and purpose; it really helps to build a solid foundation for us beginners. Looking forward to getting started on my first woodworking project!
This guide is exactly what I needed as I begin my woodworking journey! The way you break down each tool and its application makes everything feel so much more accessible. I’m eager to start practicing the techniques and seeing what I can create!
Absolutely love this guide! It’s so refreshing to see a well-structured resource that not only explains the tools but also instills confidence in us beginners. I’m excited to apply what I’ve learned and start building some projects of my own!
This guide is a game changer for beginners like me! The detailed explanations and practical tips really make hand tools less intimidating, and I feel more inspired than ever to pick up my first project. Excited to start my woodworking adventure!
This guide is truly invaluable for newcomers! The breakdown of each tool and its usage is so clear and straightforward, making it easy for someone like me to feel ready to dive into woodworking. Can’t wait to put these tips into practice and create something amazing!
This guide is fantastic! The clear instructions and practical advice are perfect for anyone just starting out. I feel much more confident and excited about using hand tools for the first time. Can’t wait to get to work on my first project!
This guide is incredibly helpful for those of us just getting started with woodworking! The emphasis on understanding hand tools and their proper use makes everything feel much less daunting. I’m looking forward to honing my skills and crafting some beautiful pieces!
This guide is a treasure trove for beginner woodworkers! The way it breaks down the essentials of hand tools really simplifies the learning process and makes it so approachable. I’m eager to get started and see what I can create with the skills I’m about to develop!
This guide is a must-read for anyone new to woodworking! The way it demystifies hand tools and provides step-by-step instructions has really boosted my confidence. I can’t wait to dive in and start creating my own projects with the skills I’ll gain from following this advice!