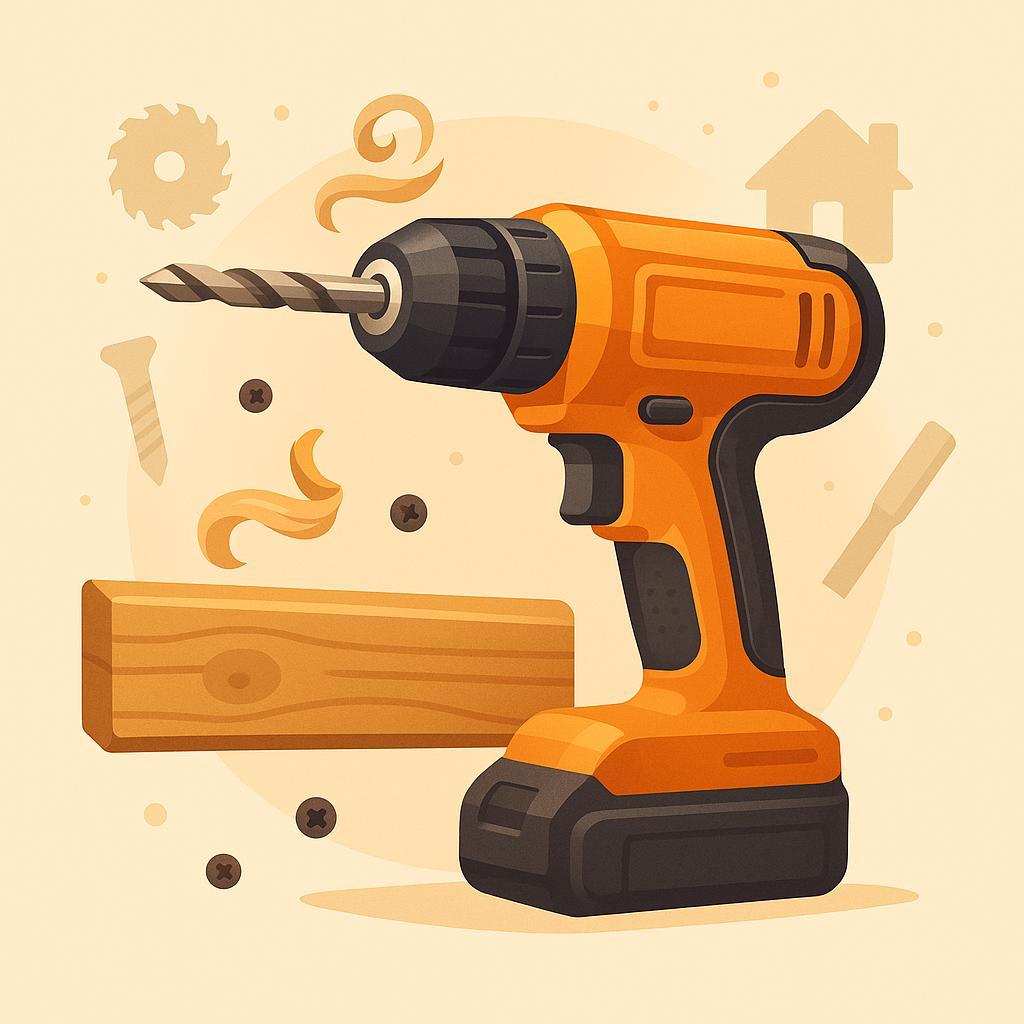
Power and precision fit in your palm, and the right cordless drill turns rough lumber into confident projects. For woodworking beginners, choosing the first drill is less about brand hype and more about what fits your hands, space, and goals. A solid cordless drill grows with you-from pilot holes to pocket screws to small mortises-without tethering you to a wall outlet. In this guide, you'll learn how to evaluate grip, weight, speed, and torque; understand battery chemistry and runtime; and spot models that offer dependable reliability at a fair price. By article's end, you'll know which drill fits your projects and budget in 2025.[wpsm
[wpsmtitlebox title=”Table Of Contents” style=”main”][wpsm
[wpsmtoplist]
[/wpsm_titlebox]
Best cordless drills for woodworking beginners balancing power and control
Balancing power and control is key for woodworking beginners. A drill that's light, pleasant, and easy to control reduces fatigue and helps you learn precise hole placement. Look for a model with a comfortable grip, a smooth trigger, and a clutch with enough settings to prevent overdriving. A brushless motor often delivers smoother performance and longer runtime, which matters when you're building small projects like boxes, frames, or cabinet doors.
To help you choose, here are essential criteria to consider:
- Weight and balance: Aim for under 3 pounds with a balanced grip.
- Clutch range: At least 10-20 settings to dial back torque for pilot holes.
- speed control: Variable speeds from roughly 0 to 450 rpm for drilling and up to 0-1500 rpm for driving.
- Bit compatibility: A 1/4″ hex chuck or rapid-change bit system speeds up swaps.
| Category | Typical beginner spec | Why it helps |
|---|---|---|
| Weight | 2.0-3.0 lb | Light enough for steady handling |
| Voltage/Battery | 12-20V, 1.5-2.0 Ah | Balanced power and runtime |
| Chuck size | 1/4″ hex or keyless | Fast bit changes |
| Torque clutch | 8-20+ settings | Prevents stripping and kickback |
| speed range | 0-450 / 0-1500 rpm | Drilling vs driving control |
Once you narrow down to a few models, try a simple practice routine to build confidence: set the clutch to the lowest safe torque and drill pilot holes in scrap pine; increase torque gradually and drive screws while keeping the drill steady and perpendicular to the surface; clamp your work and use a depth mark to stop at the right depth; rotate through different bit sizes to feel the balance and control across tasks. A short, deliberate practice session a few times a week will yield tangible gains in accuracy and speed.
Maintenance and safety matter just as much as choosing the right drill. Keep batteries charged, inspect bits for burrs or wear, and store tools in a dry place. Wear eye protection, and when starting a project, secure your work with clamps and slow, deliberate movements to build muscle memory for consistent results. With the right tool and a focused routine, you'll be ready to tackle a wide range of beginner woodworking projects.
Build Your Dream Workshop on a Budget →
Battery life and runtime essentials for steady progress in the workshop
Understanding battery life in a cordless drill hinges on three quick things: capacity, voltage, and how hard you push the tool. Capacity, measured in amp-hours (Ah), tells you how much energy a battery stores, while voltage (20V, 12V, etc.) indicates the potential power. For woodworking beginners, a typical setup is a 20V system with 2.0-3.0 Ah batteries. The more energy stored, the longer you can drill, countersink, and drive screws before needing a recharge. A simple rule of thumb is to estimate runtime by dividing the battery's energy by the drill's current draw, then testing in practice as real-world use varies with bit size, material density, and clutch settings.
Keep battery health and performance by charging smartly and storing wisely. Use the manufacturer charger designed for your pack,and avoid charging in extreme heat or cold. Never fully discharge a modern Li-ion pack; aim to recharge when it drops to around 20-30%. If you won't use a battery for a while, store it at partial charge (about 40-60%) in a cool, dry place. After heavy use, let packs cool before recharging to protect cells and preserve life. Clean battery contacts with a dry cloth to ensure solid connections and reliable charging.
In the workshop, plan your sessions around battery life to stay productive without being tethered to a charger. Keep at least one spare battery on hand, label them by tool and job, and swap early to maintain momentum. When drilling through hardwood or using larger bits, use a slower speed and crisp clutch setting to reduce amperage draw and heat. If you have a brushless drill, it will typically stretch runtime thanks to better efficiency, but you'll still gain the most from gradual, deliberate drilling rather than forcing the tool. Quick recharges during breaks can shave downtime and keep projects moving forward.
Practical rythm for steady progress: plan tasks by battery life windows, keep a charging station within arm's reach of the workbench, and rotate batteries so one always cools while the other runs. Regularly inspect packs for swelling or unusual heat and retire any pack that shows signs of wear. As a beginner, focusing on efficient technique and tool settings will yield longer runtimes, cleaner holes, and less stress about battery management.
Build Your Dream Workshop on a Budget →
Ergonomics and grip design that keep you comfortable during long sessions
Comfort and control during long sessions depend on thoughtful ergonomics and grip design. A drill with balanced weight distribution reduces wrist fatigue and improves cut accuracy. Look for designs where the battery sits close to the handle's center of gravity, and choose a handle size that fits your hand without cramping your fingers.
Grip materials and form matter as much as power. A pistol-style grip with a soft, rubber overmold absorbs vibration, while an inline grip can feel sleeker but might potentially be less forgiving for smaller hands. Quality models incorporate vibration dampening and smooth trigger action to let you maintain a relaxed grip even after hours of work.
practical evaluation tips: in-store, simulate your typical workload by toggling between fast drill speeds and slower start-ups. Check the handle diameter, aiming for roughly 1.25-1.75 inches depending on your hand size. Weigh the tool with the battery attached to gauge how quickly your forearm tires. If possible, test with a secondary side handle for additional control on corners and overhead work.
Quick reference - key ergonomics to consider at a glance:
| Feature | Why it matters | Tip |
|---|---|---|
| Handle diameter | Fits your grip for comfortable control | Aim for about 1.25-1.75 in |
| Balance / battery placement | Reduces wrist strain | Choose center-weighted designs |
| Grip material | Soft, non-slip surface lowers fatigue | Look for rubber overmold |
| Vibration dampening | Keeps hands from buzzing during long sessions | Anti-vibe features help |
Build Your Dream Workshop on a Budget →
Precision and safety through clutch settings speed ranges and bit compatibility
Precision and safety in woodworking hinge on three linked controls: clutch settings, speed ranges, and bit compatibility. When used together, they help you avoid cam-out, torn grain, and damaged workpieces, while delivering clean entry holes and securely seated screws.For beginners, understanding how these knobs interact builds confidence and yields repeatable results across a range of projects.
Clutch settings act as a built-in safety brake, disengaging torque when resistance increases. Start with the lowest setting for delicate work and increase gradually as the bit bites and the wood resists. For pilot holes in softwood,aim for light to mid torque (roughly 2-6 on a typical 16‑position dial). For hardwoods or when driving longer screws, move to mid‑to‑high torque (about 7-12). When driving screws, keep torque low enough to let the driver seats the head without tearing the wood. If you notice the drill stalling or the bit burning, back off the speed and reduce the torque, then test again.
- Softwood pilot holes: low-mid torque,higher speed for clean entry.
- hardwood or dense material: mid-high torque, steady feed to prevent stalling.
- Driving screws: start low, then increase only as needed to seat flush.
- Reset to a low torque when not drilling to prevent accidental starts.
Speed ranges dictate how quickly the bit spins and how you feed the tool. Drilling wood responds well to higher spindle speeds, but control is key. For small-diameter holes in softwood, aim for roughly 1,500-2,500 RPM; for larger bits or hardwood, 800-1,800 RPM helps maintain control. When driving screws, slower speeds (about 400-1,200 RPM) paired with light pressure reduce cam-out and avoid overdriving. If your drill includes a soft-start feature, enable it to prevent a jerky kick when you first apply pressure. A steady two-handed grip and patient feeding are essential to keep your work precise and safe.
| Task | Clutch Setting (approx.) | Speed (RPM,approximate) | Notes |
|---|---|---|---|
| Pilot hole in softwood | Low-Medium (2-6) | 1,000-2,000 | Keep bit straight; smaller bits run faster |
| Pilot hole in hardwood | Medium-High (6-12) | 1,200-2,200 | Control cam-out; slower feed helps |
| Driving small screws | Low (1-4) | 400-1,000 | Let the tool do the work; avoid overdriving |
| Driving large screws | Medium-High (5-12) | 600-1,200 | Balance torque and speed |
Bit compatibility and selection are as important as power for clean,safe work. Check your drill's chuck size and bit shank compatibility: common home models use 3/8″ or 1/2″ chucks, while many compact drills rely on a 1/4″ hex quick-change system. For wood, keep these bit types on hand: brad-point bits for clean entry holes, twist bits for general drilling, spade bits for larger holes, and countersink bits for flush screw heads.Pair screws with the correct driver bit and consider a magnetic bit holder to reduce cam-out. If you're using a hex-shank system, a 1/4″ hex shank enables rapid changes between drill and driver bits. Always keep bits sharp and replace worn ones; dull bits demand more torque and degrade cut quality. clamp your work, wear eye protection, and maintain a firm two-handed grip; let the clutch disengage during bit changes to avoid pinches or kicks.
Build Your Dream Workshop on a Budget →
Durability features and warranty considerations for starter kits
Durability starts with the tool's build. For starter kits, prioritize a housing that can withstand daily handling, a reinforced chuck, and gears built to endure repeated drilling into wood. A balanced body and a shock-absorbing grip reduce fatigue and protect the motor from minor bumps. If you can, opt for a brushless motor in the 12V-20V range, as these designs run cooler and tend to wear more slowly under typical woodworking tasks.
- Rugged housing: metal or reinforced plastic with protective guards.
- Reliable chuck: metal jaws or heavy-duty composites that stay tight.
- Dust and moisture seals: sealed switches/bearings help longevity.
- balanced ergonomics: soft grip and even weight distribution to reduce drops and fatigue.
Warranty basics to expect: Most starter kits include a limited warranty covering the tool, and many extend to batteries. Look for at least a two-year tool warranty and a one-year (or longer) battery warranty; some brands offer longer coverage if you register online.Remember that warranties usually require normal use, proper maintenance, and proof of purchase. Abuses such as immersion, incorrect storage, or using incompatible accessories can void coverage.
| Component | Typical Coverage | Notes |
|---|---|---|
| Drill/Driver Tool | 2-5 years | Register for extended coverage when offered |
| Battery Pack | 1-2 years | Performance-based exceptions may apply |
| Accessories/Chucks | Limited | Often excluded from full coverage |
Maintenance is the other half of durability. Regular care extends the life of both the drill and its batteries. Clean dust from vents, keep the battery contacts clean, and store your kit in a dry place.Use the correct speed and torque settings for wood to avoid overheating the motor; letting a battery run completely flat can shorten its life, so stop charging once it's full. These habits help keep performance consistent and reduce the likelihood of wear-related warranty claims.
- Clean and inspect the chuck weekly.
- Charge batteries in a cool, dry environment.
- Avoid drops and water exposure.
When shopping, favor starter kits that bundle a spare battery, a sturdy case, and a clear care guide. A kit with a two-bay charger and durable battery may cost more upfront, but it reduces downtime and improves long-term reliability. Also check whether the kit includes essential spare parts so you can keep the drill ready with minimal downtime.
Build Your Dream Workshop on a Budget →
Practical buying guide with recommended models and how to choose
Selecting a cordless drill for woodworking beginners means balancing power with control. Prioritize a comfortable grip and light weight so you can work longer without fatigue. For most starter projects, aim for a drill/driver with two speeds, a 1/2-inch chuck for versatility, and a reliable torque/clutch that stops torque when you need to drive screws without stripping them. Battery chemistry matters too: lithium-ion cells hold charge longer and recharge faster, so a 20V or 18V platform is a practical sweet spot.If you already own a tool in a brand's ecosystem, sticking with that platform saves money on spare batteries.
Consider build quality and features that help you learn safely: a brushless motor provides longer life and cooler operation, though it adds cost; a lightweight brushless drill is easier to handle for wrists and shoulders. Look for an integrated LED light, a comfortable trigger feel, and a durable case to keep bits organized. It's also worth checking for an included bit set and a charger that supports quick top-ups so you're not left waiting between tasks.In short, choose a model with a good balance of power, weight, and practical extras that reduce friction in the learning process.
Here are some recommended starter models to cover a range of budgets and needs:
| Model | Why beginner-friendly | Best for |
|---|---|---|
| DeWalt DCD771C2 | 20V MAX,two speeds,solid clutch,ergonomic design | General drilling and screw driving |
| Makita XFD10R | Lightweight,balanced,18V LXT | Compact projects and trim work |
| Ryobi P208 One+ 18V | Great value,broad accessory ecosystem | Budget-conscious beginners |
| Black+decker LDX120C | Affordable,decent power,good for light tasks | Start-up projects and hobby use |
How to decide among these models and what to buy next is straightforward: pick a kit that fits your budget but also leaves room to grow. if you plan larger projects or hardwood work, lean toward a 20V/18V platform with a brushless option.Always verify the total package-two batteries (or more), a charger, a compact carrying case, and a basic bit set add a lot of long-term value. consider starting with a small accessory bundle so you can begin right away without hunting for compatible bits.
Build Your Dream Workshop on a Budget →
Q&A
What features should a beginner look for in a cordless drill for woodworking?
Choose a drill that fits comfortably in your hand and won't exhaust you after a few minutes. Make sure it offers adjustable torque, at least two speeds, and a 3/8″-1/2″ chuck for common woodworking bits. A brushless motor is nice for reliability,and a bright LED helps in tight spots.
Should I buy a 12V or 20V cordless drill for starting out in woodworking?
For basic projects, a 12V model is lighter and easier to maneuver, but a 20V drill gives more torque and power for bigger holes and driving longer screws.If you'll be building furniture or working with hardwood, a 20V class is generally more versatile. Consider a kit with spare batteries to stay productive.
Is a hammer function useful for woodworking, or can I skip it?
Hammer mode is mainly for drilling into masonry; for wood, you'll rarely need it. Focus on a drill with good clutch control to prevent overdriving screws and a steady torque range. You can ignore the hammer setting if your tasks stay in wood and plastic.
What's a reasonable budget for a reliable beginner drill kit?
Expect to spend around $100-$200 for a solid beginner kit that includes a drill, spare battery, charger, and a set of bits. Compare brands for consistent warranty and availability of replacement parts. Avoid ultra-cheap options that skimp on torque and clutches.
What maintenance habits help a cordless drill last longer?
Keep batteries within the recommended charge range and avoid overheating by stopping to cool between long sessions. Clean the chuck and vents regularly,and store the drill in a dry place. Periodically lubricate the chuck if the manufacturer recommends it,and use quality bits to reduce wear.
In Conclusion
the right cordless drill isn't a flashy gadget; it's a reliable partner that makes every gentle pilot hole and steady screw feel doable. The main takeaway: prioritize comfortable weight, responsive control, sufficient torque, decent battery life, and a straightforward bit system within your budget. For woodworking enthusiasts, this matters because confidence with a drill translates into more projects, cleaner joints, and less frustration on the shop floor. So pick a model, try a small project, or skim a few more guides to compare grip, balance, and speed settings. Start now, and let your ideas power your next build-one smart drill stroke at a time.


Great list! I’m just getting into woodworking, and this will definitely help me choose the right drill for my projects. Thanks, Adam!
Awesome recommendations! I’m excited to try my hand at woodworking, and this guide is just what I needed to find a suitable drill. Thanks for sharing!
I’m glad to see this list! As a beginner, having the right tools makes all the difference, and your insights are super helpful in making an informed choice. Can’t wait to get started!
This is such a useful post! As a newbie to woodworking, I really appreciate the breakdown of features and recommendations. It makes picking the right cordless drill so much easier-thank you for putting this together!
Thanks for compiling this list! As someone who’s just embarked on their woodworking journey, it’s incredibly helpful to have clear recommendations. I can’t wait to put one of these drills to use!
This guide is fantastic! As a woodworking novice, I’ve been overwhelmed by the options, but your detailed recommendations really simplify the process. Looking forward to getting started with one of these drills!
This post is a lifesaver! As someone who’s just started woodworking, I was unsure about what drill to choose, but your detailed insights have made it so much clearer. Can’t wait to dive into my first project with one of these picks!
I love this guide! As a beginner in woodworking, I was really confused about what cordless drill to invest in, but your thorough explanations and top picks have clarified things immensely. Excited to start my projects with the right tool!
This guide is super helpful! As a beginner in woodworking, I felt lost among all the options, but your clear explanations and recommendations have made my decision so much easier. Can’t wait to get my hands on one of these drills and start creating!
This post is amazing! As a woodworking beginner, I was feeling overwhelmed with all the choices out there, but your easy-to-understand recommendations have made things much clearer. I’m excited to pick one and start building!