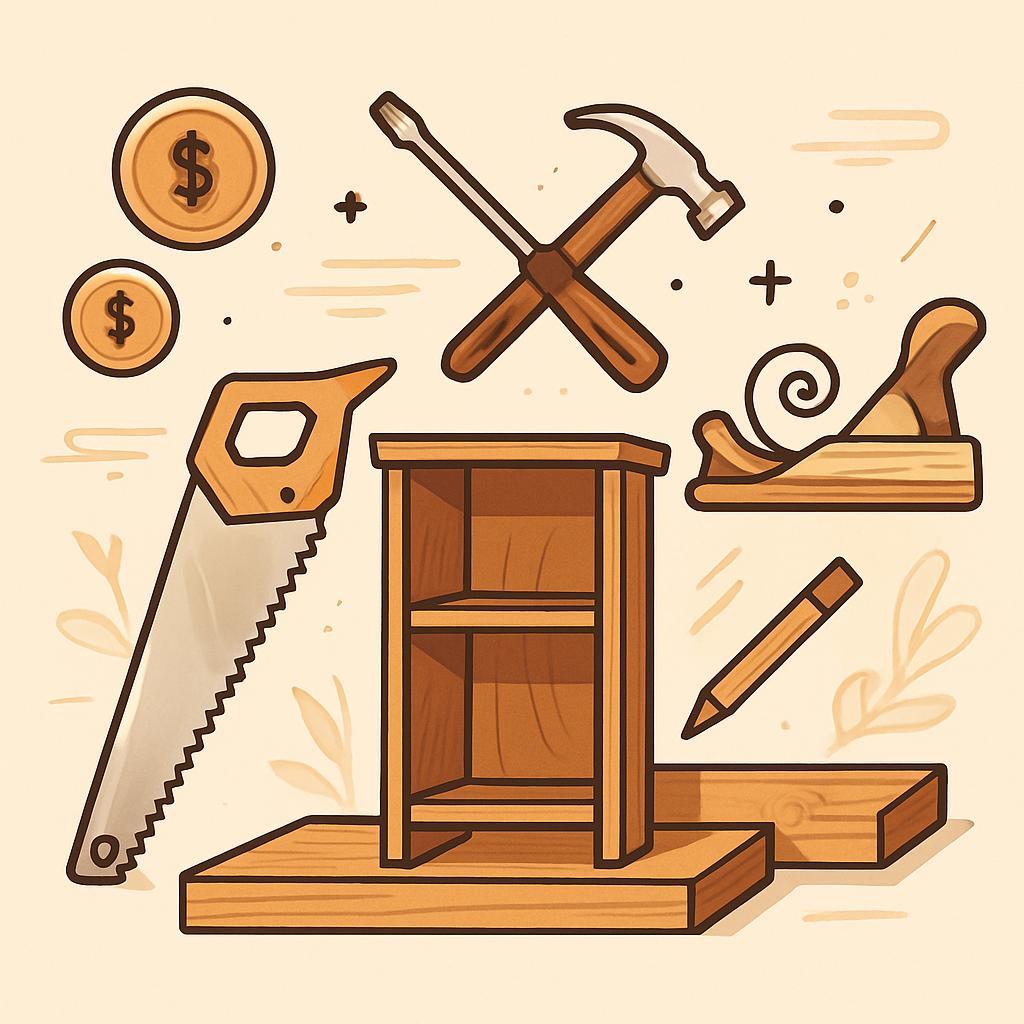
Cutting through the noise of pricey tools and big-shop dreams, budget-amiable woodworking invites you to start where you are.This matters to enthusiasts because great projects don't need a fortune-they need a plan,a few essential tools,and a dash of patience. in this guide you'll learn how to pair simple designs with cost-smart choices, estimate materials without wrecking your budget, and stage safe, satisfying builds at home.Expect practical, step-by-step tips, beginner-friendly projects, and trade-offs that keep quality high even when money is tight. By the end, you'll feel confident starting today.
Budget Mindset for Home Woodworking and Project Planning
Developing a budget mindset for home woodworking means treating each project like a small, time-bound mission. Start by defining the intended outcome-what will be built, how it will be used, and how long it should last-then translate that into a hard price ceiling. Map out must-haves versus nice-to-haves, and commit to the option that delivers the best value at the lowest cost. Track every purchase against your forecast, and schedule a fast check-in after rough-cutting the material list to spot overspend before it happens. A practical rule of thumb is to reserve a contingency of 5-15% of the estimated cost for surprises or design detours, so your momentum stays intact.
| category | Estimated Range | Notes |
|---|---|---|
| Materials | $20-$150 | Lumber, plywood, fasteners |
| Hardware | $10-$40 | Hinges, handles, slides |
| Finish & Supplies | $5-$25 | stain, varnish, brushes |
| Tools & Safety | $5-$30 | Sandpaper, glue, PPE |
| Contingency | 5-15% of total | Buffer for surprises |
Smart sourcing begins long before you buy. Look for reclaimed wood, factory seconds, or materials on clearance. Compare prices online and in local hardware yards, and consider multi-project buys to spread shipping costs. Plan your build around standard sizes to minimize waste; design to fit sheet goods, common dimensions, and existing scraps.By reusing offcuts and pairing projects with a single, shared jig or cut list, you cut both material waste and time in half.
Turn the plan into action with a simple, repeatable workflow: 1) draft a complete materials list and price check, 2) compare at least three suppliers, 3) set aside a contingency and log every expense. Maintain a shared budget sheet for current and upcoming projects so you can reuse patterns and avoid repeating costly mistakes. By standardizing on common dimensions and materials, you'll notice the savings compound across projects.
Get Instant Access to 16,000+ woodworking Plans →
Planning for Material Efficiency and Waste Reduction
Planning for material efficiency begins before the first cut.Start with a real inventory of what you already own, then create a precise cut list from your project drawings. Know your kerf and account for it in every measurement, so you don't end up short or overshoot boards. With a clear map of materials and a realistic waste allowance, you can budget time, money, and space more effectively and reduce last‑minute shopping trips.
Survive the grain and maximize sheet‑goods yield by smart layout. Place the largest pieces on the sheet first, align grain where it matters, and plan for standard stock sizes (2x4s, 1/2″ plywood, 3/4″ boards) to avoid awkward cuts. A well‑sketched layout minimizes seams and offcuts, and it often reveals opportunities to reuse scraps for jigs, spacers, or hidden routes.Keep a simple, reusable plan on a whiteboard or a tablet so you can compare alternatives quickly before cutting.
To visualize the trade‑offs,consider a quick cut‑plan comparison.The table below shows three layout options and their typical waste, assuming 4×8 ft sheet goods and standard kerf around 1/8 inch.
| Layout option | Notes | Estimated waste |
|---|---|---|
| Layout A | Nest all pieces on one 4×8 sheet | 8% |
| Layout B | Split across two sheets for long parts | 15% |
| Layout C | Use offcuts for small parts and jigs | 6% |
After locking in a plan, document the final cut list with clear markings and a dedicated workspace for layout. Label offcuts by size and potential use,store them in a sorted bin,and revisit your scrap stock after each project to re‑allocate pieces. This ongoing discipline keeps your budget in check, reduces material waste, and gives you quick wins for future builds-often turning leftovers into the next project before you even shop again.
Get Instant Access to 16,000+ woodworking Plans →
Choosing Affordable Tools and budget Friendly Alternatives
Choosing affordable tools begins with a clear plan. start with a concise project list, then identify the essential tools you'll reach for on every build, such as a reliable handsaw, a measuring tape, a combination square, chisels, a hammer, clamps, and a pull-through to get you started.Treat the toolkit as an investment that pays off with accuracy and safety, not a shopping spree. By prioritizing quality where it matters most-blade integrity, cozy grips, and solid hardware-you prevent frustration and wasted material down the line.
shop smart by comparing prices across stores, looking for bundles, and considering refurbished or gently used options when safety checks are favorable. Before buying, inspect any used tool for worn teeth, misalignment, rust, cracked handles, and smooth operation. If it passes a quick test (blade friction, blade stiffness, jaw alignment), you can frequently enough save a chunk of money without sacrificing performance.Keep a simple budget and resist impulse buys; the right tool at the right time is more valuable than a flashier purchase today.
To help you compare options, here's a quick snapshot of budget-friendly tool picks and what to look for in each. Prioritize dependable blades, smooth motion, and comfortable handles, and remember that maintainance can extend a low-cost tool's life far beyond its price tag.
| Tool | Budget Pick | What to Check |
|---|---|---|
| Measuring | Combination square kit under $15 | Calibrates true; blade straight |
| Clamps | Basic bar clamps (6″-12″) | Aligned jaws; smooth sliding |
| Chisels | Chisel set under $20 | Sharp edges; comfortable handles |
| Saw blades | Handsaw with tensioned blade | Rip/finish cuts; replaceable blade |
As you grow your collection, plan for upgrades rather than overhauls.Consider tapping into local tool libraries, maker spaces, or community groups where you can borrow specialty items like a small router or cordless drill before purchasing. Maintenance matters too: keep blades sharpened, store tools dry, and label ranges to avoid misplacing critical pieces. A measured, patient approach turns a modest budget into a reliable workshop that supports repeat projects at home.
Get Instant Access to 16,000+ woodworking plans →
Sourcing Wood and Materials Smartly with Reclaimed Pieces
Reclaimed pieces can dramatically cut project costs and add character. Start by surveying local networks: lumber yards, demolition sites, and community groups for reclaimed wood arrivals. Before you commit, inspect each piece for nails, screws, and hidden damage. Use a magnet to catch fasteners and set aside any boards with severe cracks or rot.Keep your project in mind: odd lengths and mixed species can become clever design features with thoughtful planning. Test moisture with a basic meter; aim for roughly 6-12% moisture for interior work, and let higher-moisture boards acclimate in a dry space before cutting.
Sourcing smart frequently enough means visiting salvage yards,architectural reuse stores,and even old barns or fences. These places frequently carry offcuts and mismatched boards that can become tabletops,shelves,or frames. Bring a tape measure, a notebook, and a rough cut list to stay focused. When you find a piece you love, ask about its origin and any finishes that were applied; a documented history helps you decide how to finish it. If possible, negotiate for bulk prices or bundles of trim and planks to stretch your budget further.
| Source | What to Look For | Pros | Cons |
|---|---|---|---|
| Local salvage yard | Clear signs of rot; straight, uniform boards | Wide variety; discounts | May require planing/post-processing |
| Pallets and crates | Heat-treated stamp; surface condition | Vrey affordable; unique grain | Nail hazards; inconsistent thickness |
| architectural salvage | Finished trim, beams | Quality pieces; ancient character | Higher cost per piece |
Once you collect reclaimed stock, organize by species and thickness. Create a simple project plan: which boards will be joined, which will be cut to final dimensions, and which will be used as accents.Favor hand tools to minimize damage on thin stock, and consider a pull-scrape or scrub plane for quick flattening. Store dry boards off the floor, stacked with spacers to prevent moisture pockets, and label each piece with its intended project to reduce miscuts. A light pass with a fine sanding block can help you assess color consistency before committing to a finish.
Budget wisely for processing and finishes, and reserve a small “practice” pile for quick tests and tweaks. Set aside fasteners, glue, and finish materials, accounting for waste and extra pieces. Batch your cuts for larger projects to minimize waste, and keep your workspace organized to speed builds and reduce rework. If you're comfortable sharing finds, consider coordinating with neighbors, a local maker group, or a hardware co-op to trade reclaimed pieces and tips on sourcing.
Get instant Access to 16,000+ Woodworking Plans →
setting Up a Functional safe Home Workshop on a Budget
Setting up a safe, functional home workshop on a budget starts with space planning rather than expensive tools. Choose a corner with solid lighting and adequate ventilation, and divide the area into three simple zones: cutting, assembly, and finishing.Keep the floor clear and build up storage-think pegboard, wall-mounted racks, and magnetic strips-to free bench space for precise work. with a purposeful layout, you can handle projects from small boxes to thin-ripped boards without tripping over cords or knocking over materials.
Safety and dust control are non-negotiable, even in a budget setup.Start with a reliable dust-suppression plan: attach a basic shop vac to tools, seal gaps around the bench, and use a portable air filter for improved air quality. Invest in PPE you'll actually wear-quality safety glasses, hearing protection, and a respirator or dust mask-and keep them within arm's reach. Plan your power needs by using one well-organized power strip or a single dedicated outlet for your most demanding tool; avoid overloading circuits and unplug tools when not in use.
To keep costs down while remaining productive, assemble a starter kit of essential gear. The following quick-reference table highlights the core items and rough budgets to target as you collect gear over time.
| Item | Purpose | Budget Range |
|---|---|---|
| Workbench | Stable surface and proper height | $50-$150 |
| Clamps | Wide range for holds and assembly | $15-$60 |
| Dust management | Shop vac or dust extractor + masks | $20-$80 |
| Lighting | Shining, even illumination | $20-$40 |
| safety gear | Goggles, ear protection, respirator | $10-$30 |
Beyond gear, develop a simple setup schedule and sourcing strategy. Buy used where safe and practical, check local marketplaces for a sturdy second-hand workbench, clamps, and hand tools, and reuse scrap lumber for practice pieces and jigs. Phase your build: month one focuses on safety and a solid bench, month two adds a basic cutting tool and clamps, month three outfits the space with storage and lighting, and month four refines dust control and finishing area. Keeping a running inventory-tools, PPE, consumables-helps you stay on track and avoid impulse buys.
Get Instant Access to 16,000+ Woodworking Plans →
Mastering techniques and Finishes That Deliver Quality on a Budget
Quality on a budget starts before you touch a tool. choose joinery you can execute with common gear, such as pocket screws, dowels, and clean rabbet or dado joints for cases and shelves. Plan your cut list to maximize offcuts for backs, drawer sides, and face frames so waste is minimized and strength is preserved. Even inexpensive boards can become durable, visually pleasing pieces when you pair careful layout with precise cuts and a thoughtful finish plan.
finishes that protect without draining your wallet lean toward accessible, easy-to-reapply options. The right choice often depends on the wood type and how the piece will be used. The quick guide below helps you compare common budget-friendly finishes at a glance:
| Finish | Pros | Cons | Approx. Cost |
|---|---|---|---|
| Oil (tung/linseed) | Rich depth; easy touch-ups | Longer cure; occasional darkening with time | Low |
| Water-based polyurethane | Clear finish; fast dry; good wear resistance | May raise grain if surfaces aren't prepped | Medium |
| Shellac | Fast seal; easy cleanup | Not ideal for moisture or heat | Low |
| Beeswax or wax-oil blends | Soft luster; budget-friendly | Limited protection; needs reapplication | Low |
Surface preparation and measured request are where budget finishes shine. Start with a clean, dust-free surface and a simple sanding progression to open the grain just enough for a good bond.Apply coats in thin layers, allow proper curing, and sand lightly between coats for a smooth, durable result.
- Start with clean surfaces; wipe with a tack cloth before finishing.
- Sand through grits 120, 180, then 220 for a smooth base.
- Apply thin coats; avoid pooling or heavy builds that raise grain.
- Dust between coats and finish with a light buff or wax for luster (optional).
Beyond finishes, budget-friendly assembly keeps costs down without compromising durability. Favor simple, repeatable joints, and lean on clamps and jigs to align pieces.Quick-to-cut joints like pocket screws or dowels can deliver solid carcasses, while a careful glue-up with cauls reduces the chance of misalignment. Always test fit on scrap before committing to glue or finish.
- Pocket screws for quick, strong boxes or cabinets.
- Dowels or biscuits for alignment when a router table isn't available.
- Rabbets and dados with a handheld router or guided saw for solid joinery.
- Seal long grain with a conditioner or sealer before top coats to minimize absorption.
Get Instant Access to 16,000+ woodworking Plans →
Q&A
What are some beginner-friendly, low-cost projects that teach essential skills?
Start with simple pieces like a cutting board, a plant stand, or a small wall shelf. These projects use basic joinery and common tools, and you can repurpose scrap wood to keep costs down. Plan measurements, sand and finish carefully, and you'll build confidence with each step.
how can I set up a budget-friendly workspace at home?
Choose a small, well-lit area and invest in a sturdy work surface.Organize with pegboards, clear bins, and a simple dust-collection plan to keep clutter down. Prioritize safety gear and basic clamps to unlock more precise work without breaking the bank.
Which tools should I buy first, and what can I substitute with?
Begin with essential hand tools (measuring tape, square, saw, chisels, plane, hammer) before buying big power machines. Use quality used tools where possible and borrow or rent specialty tools for rare tasks. Focus on accuracy and maintenance; this keeps your budget and results solid.
Where can I source affordable materials without sacrificing quality?
Check local lumber yards for offcuts, buy only what you need, and consider reclaimed or pallet wood for certain projects. Look for clearance, sales, and online marketplaces for discounted stock, and plan projects that minimize waste to stretch every board foot. For surfaces, plywood or MDF can be cost-effective options when appropriate to your design.
Insights and Conclusions
Budget-friendly woodworking isn't about cutting corners; it's about sharpening your focus, using what you have, and letting creativity lead the way. The key takeaway is that you can start meaningful projects without a big shop or costly gear by planning early, choosing affordable materials, and embracing simple, repeatable steps. For enthusiasts, this matters as it broadens experimentation, teaches resourcefulness, and lowers barriers to practice. So pick a small project, sketch a plan, and gather modest materials. Explore more guides,swap ideas with fellow makers,and apply the insights to your next piece. You've got this-every cut is a step toward your next achievement.


I love the idea of starting woodworking projects at home! Any tips on affordable materials for beginners?
I’ve been wanting to get into woodworking too! Local hardwood suppliers often have off-cuts or discounts, which can be a great way to find budget-friendly materials. Plus, repurposing old furniture is a fantastic way to save money and practice skills!
One great way to save on materials is to check out local classifieds or online marketplaces for free or cheap wood from renovations; you’d be surprised at what people are giving away!
Don’t overlook recycled wood pallets! They can often be found for free or very cheap, and with some creativity, you can turn them into unique furniture or home decor pieces. Plus, it’s a great way to practice your skills without breaking the bank!
Another great option for beginners is to visit your local Habitat for Humanity ReStores or similar thrift stores; they often have a variety of wood, tools, and even completed projects at a fraction of the retail price, making it easy to find affordable materials for your woodworking journey!
Consider joining local woodworking groups on social media; members often share tips on where to find low-cost materials, and sometimes even offer free scraps or tools that they no longer need, which can be a huge help when starting out!
Don’t forget to explore community garages and estate sales; you can often score tools and wood at incredibly low prices, and you might even find some hidden gems that could inspire your next project!
Another fantastic resource is Freecycle and similar platforms where you can list what you need or browse what others are offering for free; many people love passing on leftover materials from their projects, and it’s a great way to build your supply without spending a dime!
Have you checked out YouTube for DIY woodworking tutorials? There are countless channels dedicated to budget-friendly projects that can guide you through every step, from selecting materials to finishing touches, making it easier to start right at home without spending much!
Have you thought about checking out local community colleges or adult education centers? They often offer woodworking classes at a low cost where you can learn the basics while gaining access to tools and materials, and it can be a fun way to meet others who share your interest in woodworking!
You might also want to look into reclaimed wood sources; many places will let you take old pallets or scrap wood for free or very cheap, which can be perfect for creative woodworking projects and keeps costs down while being eco-friendly too!
Joining local woodworking groups on social media can be incredibly helpful too; you can find tips, share your projects, and even barter or trade materials and tools with other enthusiasts who want to keep costs low!
Don’t forget to explore online marketplaces like Craigslist and Facebook Marketplace; you can often find great deals on tools and wood supplies from local sellers who just want to clear out their garages, so you can snag some quality items without breaking the bank!
Local hardware stores sometimes have discount bins or clearance sales on lumber and supplies, so keep an eye out for those hidden gems; you never know what you might find that can spark your next project while saving you some cash!
Don’t overlook the potential of upcycling furniture; it’s a fantastic way to practice your woodworking skills, freshen up your home decor, and keep expenses low by transforming something old into something new without the need for buying new materials!
Don’t underestimate the power of DIY plans available online; there are countless free resources that provide step-by-step instructions for budget-friendly projects, allowing you to tackle woodworking tasks at home without spending a dime on expensive plans or designs!
Consider checking out community workshops or maker spaces; they often have great resources and equipment you can use for a minimal fee, plus it’s an excellent opportunity to meet fellow woodworking enthusiasts who can inspire your budget-friendly projects!
Consider starting with small projects like birdhouses or shelves; not only are they inexpensive to create, but they also build your skills and confidence, allowing you to gradually take on more complex woodwork without a significant financial investment!
You might also want to consider collaborating with friends on larger projects; not only can you split the costs of materials, but you can also share tools and skills, making the whole experience more enjoyable and cost-effective while learning from each other!
Absolutely! Joining online forums or local Facebook groups dedicated to woodworking can be a treasure trove of inspiration and support, plus you’ll often find members sharing materials, tools, and tips that can help you save money while starting your projects at home!