Imagine a winter ritual you craft with your own hands: a rustic wooden Advent calendar whose tiny doors reveal more than dates. For woodworking enthusiasts, it's a perfect fusion of design and technique that tests planning, joinery, and finish work-without sacrificing character. This article guides you from concept to final coat, showing how to select timber, map compartments, choose joints, and handle hardware. You'll learn practical,batch-pleasant steps,gain confidence with both hand and power tools,and discover finishing tricks that endure year after year. By the end, you'll have a functional keepsake and a deeper toolbox of skills to reuse on future projects.
Selecting the right wood and materials for a rustic wooden advent calendar
Select wood that brings a warm, lived-in feel while standing up to daily handling.White pine, spruce, or fir are classic rustic choices: they're easy to cut, readily available, and take stains or oils to create a cozy, honeyed tone. Cedar adds a subtle red-tinged patina and natural scent, while reclaimed timber offers character that commercial boards can't replicate. If sustainability matters, look for FSC-certified stock or boards milled locally; you'll often find better finishes and shorter transport, too. As you shop, inspect each board for cracks, warping, or loose knots that could loosen over time and compromise the calendar's shape.
Plan for a sturdy yet simple construction. Prioritize boards that stay flat and square after drying, and aim for uniform thickness so the days align neatly. For a rustic look, choose surfaces with visible grain and occasional knots for charm, but avoid boards with large splits or soft, crumbly patches.Check moisture content-indoor projects are easiest to finish around 6-8% MC; if you're in a damp climate, let boards acclimate in the project area for a week or two before cutting. Think about how you'll join pieces: snug butt joints, small dowels, or plated connectors can keep panels sturdy without stealing the rustic aesthetic.
| Material | Best For | Notes |
|---|---|---|
| Pine (white pine) | Lightweight frames, easy routing | Warm tone; watch for resin pockets |
| Cedar | Framed boxes, back panels | Natural stability; pleasant aroma |
| Reclaimed timber | Patina and character | Inspect for nails/warp; dry thoroughly |
| Maple or other hardwoods | Durable fronts/doors | Denser; may require sharper bits |
Finish with low-tox finishes and clear sealants to preserve the rustic look while keeping surfaces safe to handle. A simple approach is food-grade mineral oil or a beeswax blend; buff to a soft sheen after applying a light sand. Seal end grains to minimize checking, and sand surfaces to a smooth, even texture (start with 120-grit, move to 180- or 220-grit). If you plan to paint or stain, test your chosen color on a scrap piece first to ensure the rustic warmth stays intact after assembly. acclimate assembled panels in the room where the calendar will live for a day or two before final mounting so everything sits perfectly flat.
Get Instant Access to 16,000+ Woodworking Plans →
Designing a rustic wooden advent calendar layout that fits your space
Begin by mapping the space you have for your rustic wooden advent calendar. Measure width, height, and depth, and note any fixtures you'll need to work around-fireplace mantels, windows, or doorways. Decide on orientation: a wall-mounted panel, a freestanding frame on a console, or a slim horizontal board that hugs a narrow hallway. For a natural,rustic vibe,select base materials with character-reclaimed boards,weathered pine,or a simple plywood backing with a matte finish-then plan a finishing approach that protects the wood while letting its grain show. Keep depth modest (roughly 2-3 inches) so you can hide small compartments or pouches without crowding the space.
Next, explore layout concepts that align with your space and your rhythm of gift-giving. A grid of evenly sized cubbies offers clean symmetry and straightforward assembly. A ladder-style frame climbs vertically, making clever use of tall walls. A slatted panel with tiny pockets delivers texture and a tactile opening experiance. To help you decide, here's a quick side-by-side look at each option:
| Layout | Best Space | Pros | Cons |
|---|---|---|---|
| Grid of cubbies | Flat wall | Symmetrical, easy to assemble | Requires precise spacing |
| ladder-style | Vertical wall, tall ceilings | Flexible, rustic charm | Depth and mounting can be tricky |
| Slatted panel with pockets | Narrow or textured walls | textured look and tactile access | Pockets need secure fasteners |
| Modular panels | Any space | Reconfigurable | Hardware and planning required |
Once you've settled on a layout, tailor it to your house. Use a backer board and dividers cut to size, then test-fit the arrangement with cardboard templates before committing to cut wood. Install a simple mounting method such as French cleats or sturdy wall anchors, especially if the calendar will hold small items or lightweight doors. Finish with a matte wax or oil to preserve the rustic feel, and consider a light distressing to enhance depth and character. plan for safety: secure heavy components to the wall and keep sharp edges softened.
Get Instant Access to 16,000+ Woodworking Plans →
assembling durable compartments and secure mounting for a rustic wooden advent calendar
durable compartments start with thoughtful material choices and precise cutting. Opt for 1/2″ thick solid wood (like pine, maple, or reclaimed boards) for walls and dividers, or 3/8″-1/2″ plywood for a lighter, stable frame. Map out a grid that accommodates the expected contents and keeps a pleasing rhythm across the calendar. Cut square edges, then sand lightly to preserve the rustic texture; pre-finish exposed faces with a light oil or matte polyurethane to guard against moisture without dulling the grain.
Key assembly steps to lock pieces securely:
- layout the grid on your stock and mark equal compartments.
- Cut walls and dividers with square edges.
- Cut or route grooves to seat dividers firmly (dado or rabbet joints work well).
- Glue, clamp, and reinforce with countersunk screws or rustic nails.
Mounting the calendar to a wall or shelf requires a plan that preserves rustic charm while ensuring safety. A French-cleat back system distributes weight evenly and keeps the calendar flush against the wall,while recessed keyhole hangers offer a slimmer profile for lighter pieces. Attach a sturdy backer board or battens across the top and bottom to prevent sag, and add diagonal braces at corners for extra rigidity. Always anchor into studs or a solid backing and test the load before final installation.
Key material and joinery options at a glance:
| Element | Material option | Benefit |
| Compartments walls | 3/8″-1/2″ plywood or solid hardwood | Rigid, stable |
| Back panel | Reclaimed boards or solid pine | Rustic look with strength |
| Mounting backing | Hardwood battens or full backer | Distributes weight evenly |
Get Instant Access to 16,000+ Woodworking Plans →
Finishing techniques to enhance grain and protect a rustic wooden advent calendar
To let the grain speak through a rustic wooden advent calendar, opt for finishes that enrich the timber without burying its texture. Start with a clean surface and a light sand to 220 grit to knock down raised fibers. Test any finish on a scrap or hidden edge so you can see how the grain responds. For a warm, natural look, begin with a penetrating oil (such as tung or Danish oil) to deepen the figure, then follow with a clear top coat to add durability. This two-step approach preserves tactile texture while delivering practical protection.
Here's a quick reference to common finishes and how they behave on wood, so you can choose with confidence.
| Finish | Pros | Cons | Best For |
|---|---|---|---|
| Penetrating Oil (e.g., tung, Danish) | Enhances grain; easy touch-ups | Less durable than film finishes; requires maintenance | Indoor decorative pieces; natural look |
| Water-based Polyurethane | Clear; low odor; dries fast | Can raise grain if not wiped and sanded | high-traffic indoor surfaces |
| Beeswax / Wax polish | Soft sheen; easy reapplication | Low durability; needs frequent renewal | Light protection and tactile finish |
When applying, work in thin, even coats along the grain and avoid pooling in the calendar's small nooks. Allow adequate cure time-typically longer for oil-based products-and lightly sand with 320-400 grit between coats for a smooth,durable feel. Finish with a final buff using a clean cloth to bring out the luster without creating a slick surface. If you want the calendar to age gracefully, note that oil-based finishes can amber slightly, while water-based options stay truer to the wood's current tone.
Get Instant Access to 16,000+ Woodworking Plans →
Personalization ideas to customize a rustic wooden advent calendar for your home
Infusing a rustic wooden advent calendar with personal touches makes the countdown feel intimate and homey.Start by matching the wood to your existing decor-reclaimed pine for a weathered vibe, or warm oak for a cozy glow. Consider a simple,matte finish that lets the grain breathe; avoid glossy coats that clash with the wood's natural character.Involve family favorites by sketching handwriting-number styles or stenciling initials on the doors to give each day a story.
- Engrave family initials or a small symbol on each door for a uniquely yours look.
- Handwritten numbers with a chalk-mark for a soft,personal touch you can update yearly.
- Seasonal motifs such as evergreen sprigs, snowflakes, or stars via woodburning or decals.
- Palette accents in your room's colors-dusty blue, sage green, or warm terracotta.
- Personal fill with tiny notes, memories, or daily gratitude prompts.
For a cohesive look, establish a color theme and a few finishing touches that complement your furniture. Use removable magnets, small Velcro-backed pockets, or fabric tags to hold daily notes or tiny gifts-these elements can be swapped as your decor changes with the seasons. If you want a tactile feel, pair rough-sawn boards with soft twine and burlap accents to emphasize the rustic vibe while keeping the design flexible for future years.
Here's a quick reference to finishes and effects to help you choose without sacrificing the rustic feel:
| Finish | Look/Effect | Ideal For |
|---|---|---|
| Clear matte | Natural grain | Everyday display |
| Light stain | Warmth with grain | Cozy rooms |
| Chalk paint/whitewash | Vintage charm | Radiant, farmhouse looks |
To keep the calendar feeling fresh year after year, design modular compartments that can be reconfigured or swapped with new tokens. Add a small envelope or pocket on each day to hold a personal note, a memory, or a holiday joke-this keeps the ritual interactive and meaningful for kids and guests alike.Store the pieces in a labeled crate during the off-season to preserve the finish and make next year's setup faster.
Get instant Access to 16,000+ Woodworking Plans →
Display and care tips to showcase a rustic wooden advent calendar with lasting charm
To showcase a rustic wooden advent calendar with lasting charm, place it where its grain can speak for itself. Choose a sheltered spot away from direct sun, radiators, or damp corners to minimize fading, cracking, or warping. A light protective finish-the kind that nourishes wood without a heavy gloss-helps preserve the feel of aged timber. Beeswax or mineral oil leaves the surface touchable and easy to refresh over time. Regularly dust with a soft microfiber cloth, and wipe away spills promptly with a dry cloth to prevent moisture from seeping into joints. Avoid harsh cleaners or abrasive pads that dull the patina.
display ideas for showcasing its rustic character include using a reclaimed shelf or sturdy crate as a base, layered with a natural linen runner and framed by dry greenery or pinecones for seasonal warmth.Gentle lighting-like a warm LED string or a small lamp-brings out the wood's contours without overheating it. For a personal touch, attach tiny handwritten tags to the doors and keep openings evenly spaced to maintain balance. When the calendar is not in use, lean it against a wall with a breathable setup so the finish can breathe.
| Tip | Why it helps | How to implement |
| Warm lighting | Enhances the wooden glow without glare | Use a dimmable warm-white light source behind or beside the display |
| Surface protection | Prevents moisture and oils from soaking in | reapply beeswax or mineral oil every 6-12 months and wipe clean |
| dust control | Keeps the grain looking fresh | Dust weekly with a soft brush; wipe with a barely damp cloth if needed |
Maintenance and storage tips when not on display: Inspect for loose nails or joints, tighten as needed, and re-seal the surface after heavy cleaning. Store in a cool, dry place; avoid basements with high humidity. If you plan to reuse the calendar for many seasons, consider applying a deeper finish every couple of years and letting it cure fully before reassembling contents.Treat it as a keepsake: gentle care now rewards you with years of warm memories and lasting charm.
Get Instant Access to 16,000+ Woodworking Plans →
Q&A
What kind of wood is best for a rustic calendar, and how should I prepare it?
Choose dry, straight boards like pine, cedar, or reclaimed timber. Avoid treated wood for indoor use, and sand surfaces smooth to reveal the grain. Plan for a finish that preserves the natural look, such as oil or wax, and remove any nails or splinters before assembly.
How should I design the compartments and overall layout?
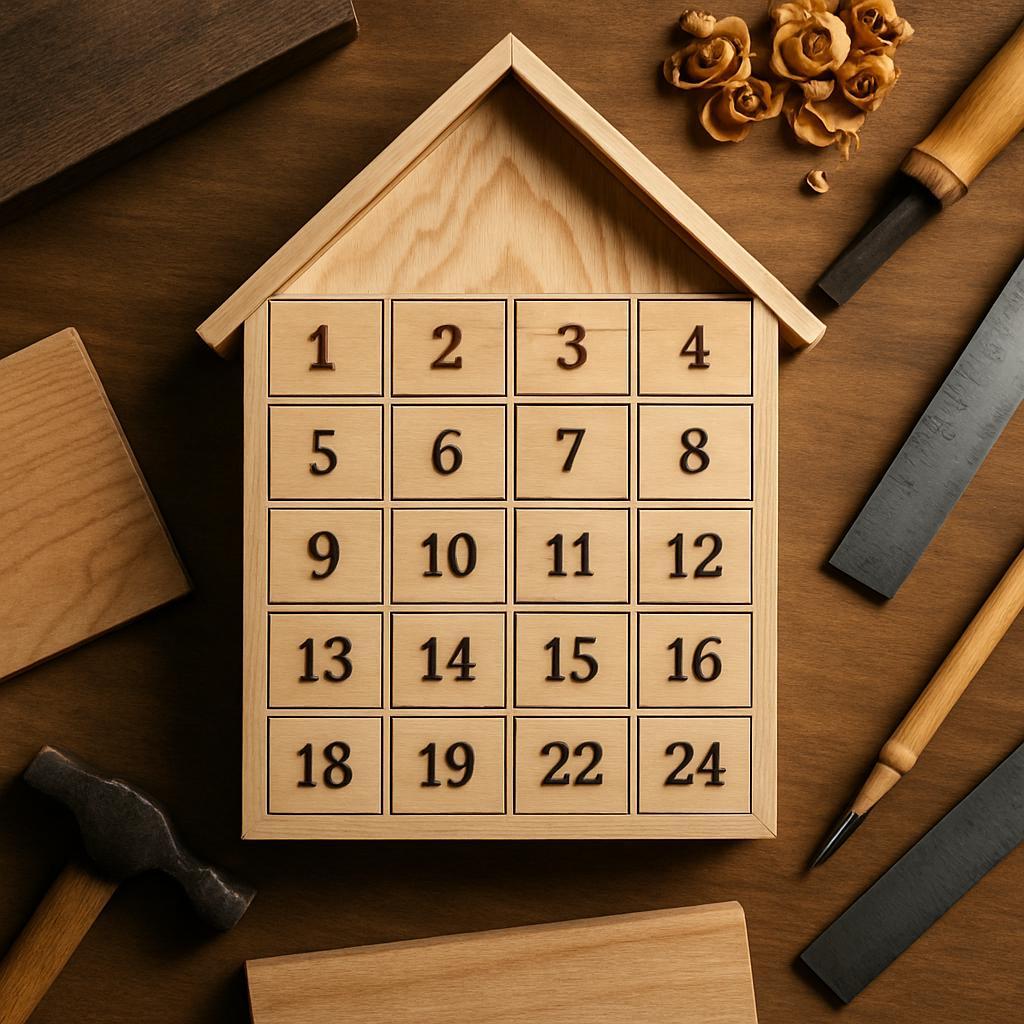
Decide on 24 small drawers, doors, or pockets and size them to fit the gift you plan to place inside. Use a simple grid on a backboard, or a staggered, natural layout to emphasize the wood's texture. Number each compartment ahead of time and plan the cuts to keep the layout even and sturdy.
What tools and safety tips should I keep in mind as a beginner?
gather a handsaw or miter saw,drill with bits,a sander or sanding block,clamps,measuring tape,and a pencil. Clamp pieces firmly, cut slowly, and keep blades sharp for cleaner edges. Wear eye protection, dust mask if needed, and unplug power tools when adjusting setups.
How can I finish and decorate without losing the rustic vibe?
Opt for natural finishes like beeswax, tung oil, or a matte polyurethane that augments the wood grain.Lightly distress edges and keep paint minimal-consider stains or clear wax instead of bright colors. Add simple accents like twine, burlap, or pine cones to enhance the rustic charm without overpowering the wood.
In Conclusion
Crafting a rustic wooden advent calendar isn't just about counting down days; it's about shaping a small, patient ritual into a tangible keepsake. The key takeaway is that thoughtful materials, measured joinery, and intentional detailing turn simple stock into a story you can display year after year.For woodworking enthusiasts, the project matters because it blends problem-solving with aesthetic restraint, inviting you to test fits, finish choices, and enduring sourcing in a meaningful, repeatable way. If you haven't started, gather a few scrap boards, sketches, and a weekend. Or dive into more guides, adapt the plan, and let your workshop become a season of making. Here's to your next build-may it brighten your table and fuel your craft.


What a fantastic project idea, can’t wait to get started on my own rustic advent calendar!
This looks amazing! I love the charm of rustic decor, and using wood for an advent calendar adds such a personal touch-perfect for holiday traditions!
This is such a wonderful DIY project! I appreciate the detailed steps, and I can already imagine the excitement of filling each wooden compartment with little surprises for the countdown to Christmas!
This is such a great way to bring the holiday spirit into your home! I’m excited to gather the materials and add my own creative flair to each compartment.
This project is absolutely delightful! I love how it combines creativity and tradition, and I can’t wait to see how my family enjoys the countdown with our personal touches!
This is such a charming idea! I love how a handmade advent calendar can make the countdown to Christmas feel so special and cozy. Can’t wait to try my hand at it!
What a lovely project! Crafting a rustic wooden advent calendar will not only enhance our holiday decor but also create lasting memories as we fill it with surprises for each day leading up to Christmas!
What an inspiring guide! I love the thought of making a rustic wooden advent calendar that reflects personal style-it’s a perfect way to bring the family together and truly celebrate the season!
I’m so excited about this project! A rustic wooden advent calendar sounds like the perfect blend of nostalgia and creativity, and I can’t wait to personalize it with my family’s favorite treats and activities for a magical countdown to Christmas!
This is such a wonderful project idea! I love the thought of giving a rustic wooden advent calendar a unique twist with family memories and little surprises-it’s bound to make the holiday season even more magical for everyone!
This guide is fabulous! I adore the idea of a rustic wooden advent calendar-it’s such a creative way to make each day leading up to Christmas feel extra special, and I can’t wait to incorporate some family traditions into mine!
This guide is incredible! I love how a rustic wooden advent calendar can blend tradition with creativity, making every day in December feel festive; I can’t wait to start crafting mine and filling it with personalized little gifts for my family!
This guide is simply delightful! A rustic wooden advent calendar not only adds charm to the holiday decor but also becomes a cherished family heirloom filled with love and surprises-I’m eager to start my own and make unforgettable memories this Christmas!
What a fantastic idea! Crafting a rustic wooden advent calendar is such a meaningful way to countdown to Christmas, and I love the thought of incorporating fun little surprises and memories that will make it even more special for the whole family!
This guide is simply inspiring! Crafting a rustic wooden advent calendar brings such a personal touch to the holiday season, and I can’t wait to add my own spin with little notes and treats for my loved ones-it will definitely make December feel even more special!
Absolutely love this guide! A rustic wooden advent calendar not only brings joy and anticipation to the holiday season, but it also allows for creativity and personalization that can be passed down through generations-I’m excited to put my own twist on it and create lasting memories!