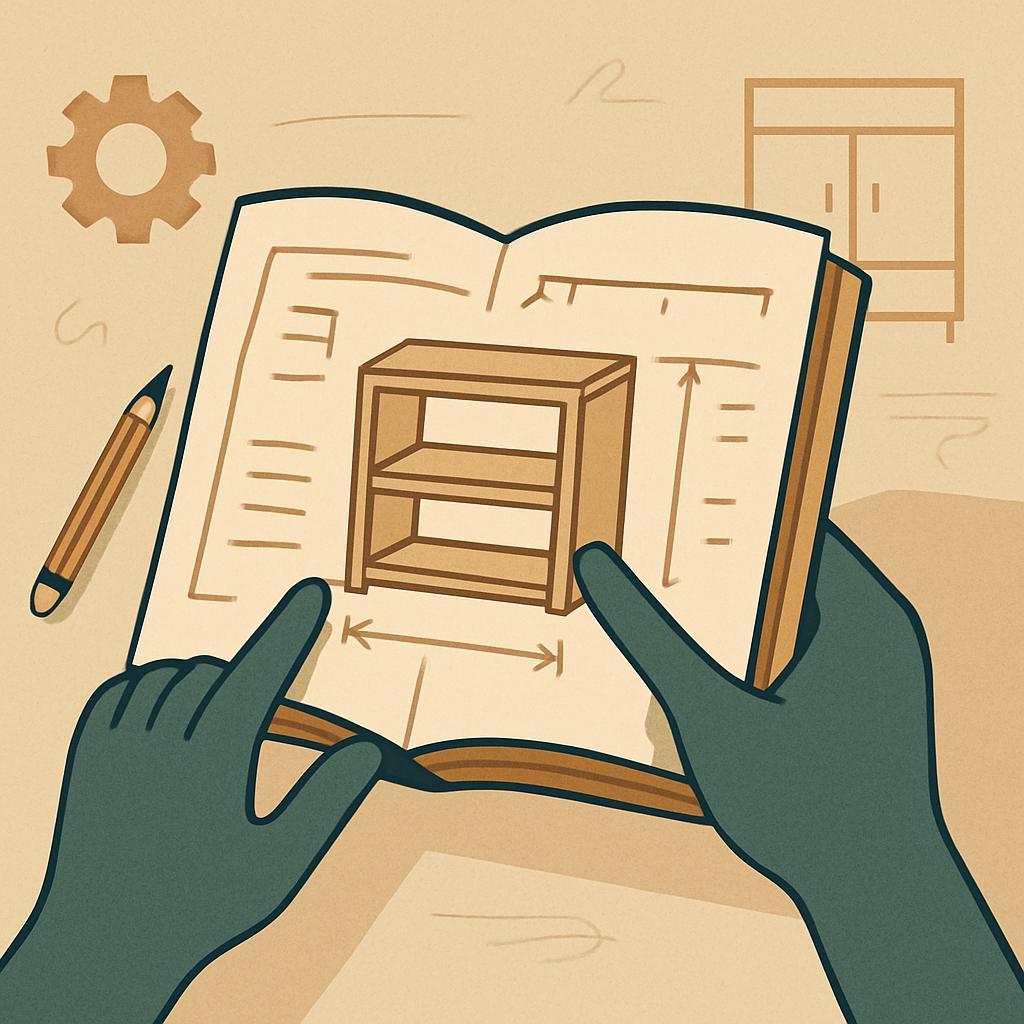
Reading a woodworking plan is the secret bridge between intention and a clean, confident cut. For enthusiasts, plans are more then diagrams-they're a language that guides material choices, tool work, and order of operations. When you read them clearly, you save time, minimize waste, and avoid costly mistakes. In this article you'll learn how to interpret scales and linework, decipher cut lists, understand hardware calls, and spot ambiguities before you cut. You'll gain a repeatable workflow: preview the project, verify materials, map the sequence, mark parts accurately, and check fit as you go. Clear plans, steady hands, better results.
:wpsm_titlebox title=”Table Of Contents” style=”main”
[/wpsm_titlebox]
Read and Interpret Woodworking Plans with confidence
Before you dive into the drawings, take a quick tour of the plan to map out the workflow. Start with the project title, then skim the notes, measurements, and recommended stock. Look for a cut list, a materials list, and any special instructions for orientation or grain direction.By highlighting these anchors in your mind, you'll know what to build toward rather than chasing random details later.
Next, confirm the unit system and scale. Plans may show inches or millimeters, and the same drawing could assume standard board widths. If something seems off, check the partial assembly drawings or any reference photos. A quick cross-check of dimensions against your actual stock helps avoid surprises during the cut-and-fit stages.
| Section | What to check | Why it matters |
|---|---|---|
| plan title | Read the overall goal and notes | Clarifies project scope |
| Cut list | Confirm quantities and units | Averts material waste |
| Hardware | Identify types and sizes | Ensures proper fit and strength |
Keep a running checklist as you read. For each part, note the recommended joinery, orientation, and hardware. Use a pencil to mark your plan onto stock or a cut-list sheet, and record any clarifications from the plan's notes.If a detail looks unclear, mark it and fetch the plan's reference image or supplier spec before you cut.
test the plan by laying out a dry run on scrap stock. Mock the assembly to verify alignment and flow, then adjust your cut order if needed. Treat the plan as a roadmap, not a fixed recipe, and you'll read with confidence, spot errors early, and minimize rework.
Get Instant Access to 16,000+ Woodworking Plans →
Decode Diagrams and Details for Sharp Clarity
When you first study a plan, orient your eyes to the main views and scale. Look for the plan's legend and title block to understand what each line means,then note how heavy or faint each line appears: solid lines show visible edges,dashed lines reveal hidden edges,and centerlines mark symmetry or routing references. By naming parts on your mind (or on sticky notes) you prevent mixing similar pieces during assembly. A quick audit of the plan's front, side, and isometric views gives you the roadmap before you cut a single board.
Dimensions and tolerances are the backbone of a clean build. Start by identifying finished sizes, then compare them to stock thickness and your planned cut heights.If the plan lists both finished and nominal sizes,subtract material thicknesses to verify you'll end up with the intended dimensions. Use the scale indicated on the drawing (for example, 1/4″ = 1′) and cross-check with a ruler or calipers to catch any misreadings. the following table summarizes common line work you'll encounter on typical plans.
| Line type | Meaning |
|---|---|
| Solid heavy | Visible edges |
| Dashed | Hidden edges |
| Centerline | Center marks or symmetry |
Cross-check the cut list with the drawing by creating a quick parts map.Assign a letter or number to each component, then group parts by assembly step rather than physical location.Use a parts map or checklist to confirm quantities, grain direction, and any special hardware. A concise checklist helps you catch omissions before you cut:
- Count each piece and double-check against the plan.
- Grain orientation noted on the part and mirrored on the layout.
- Hardware and joinery types,sizes,and positions.
- Reference marks (A, B, C) that tie the board layout to the drawing.
run a dry fit with scrap stock or cardboard templates before committing to the real boards. This step reveals tight gaps, misaligned tenons, or screw placements that the drawing can't fully anticipate. Trace outlines from the plan onto cardboard, test fit, adjust kerfs and cutouts, and onyl then transfer to your final stock. This hands-on check keeps your project accurate and boosts confidence as you move through the build.
Get Instant Access to 16,000+ Woodworking Plans →
Master Cut Lists and Material Requirements for Precise Builds
Master cut lists and material requirements are the roadmap to turning a plan into accurate, build-ready stock. A cut list translates every part into tangible, cut-ready pieces, accounting for length, width, thickness, grain direction, and the inevitable kerf from your saw blade. When you study a plan, take note of two things: the quantity of each part and the finished dimensions versus the raw stock sizes. By understanding the material requirements, you can anticipate waste, choose the right stock, and cut down on trips to the workshop.
Before you cut, align the cut list with your actual stock. Check whether the listed lengths and widths refer to finished parts or raw stock, and whether the plan uses nominal versus actual dimensions. If the plan calls for 3/4″ material, verify your stock matches that thickness. Always account for kerf-plan extra length for pieces that will be joined or trimmed. Convert all measurements to a common unit (usually inches) and note whether grain orientation or face grain references are specified to prevent misalignment in assembly.
| Part | Qty | Length (in) | Width (in) | thickness (in) | Notes |
|---|---|---|---|---|---|
| Top Panel | 1 | 24 | 18 | 3/4 | Face grain up |
| Side Panel | 2 | 24 | 6 | 3/4 | Edge-to-edge |
| Shelf | 2 | 22 | 15 | 3/4 | Center-mill |
| Backer | 1 | 24 | 18 | 1/4 | Optional |
Once you have validated the numbers, organize your workflow with a clear layout.Lay out the cut pieces on the stock to minimize waste,then mark grain direction and reference the plan while you cut. Label each piece as you go and keep a running tally of what's been cut and what remains, so you can spot mismatches early. A simple cutting checklist-dimensions checked, kerf accounted for, stock type confirmed, and hardware matched-saves time and reduces rework during final assembly.
Get Instant Access to 16,000+ Woodworking Plans →
Align Scale and Measurements to Prevent Mistakes
Aligning scale and measurements starts long before the saw touches wood. The moment you open a plan, your first job is to confirm that the numbers on the drawing match the stock you have and the units you're using. In woodworking plans, mismatched inches and millimeters or slightly off scale are stealthy culprits that produce pieces that won't fit. Treat every dimension as a commitment: verify the plan against your stock dimensions, and keep a consistent measurement system as you work.
Set your measurement system up once and stick to it. Decide on inches or millimeters for length, and ensure the same unit appears on every page. Calibrate your tools before you cut: use a reliable ruler or tape that reads the chosen unit, and verify the instrument's zero point. Before you cut, perform a quick double-check: measure the same dimension from two viewpoints, such as an edge length on the plan and the actual board, to catch reading mistakes or misinterpretations caused by blade kerf.
Develop a simple scale workflow: if the plan is drawn at 1:1, work in actual size; if it's scaled, multiply the drawn length by the scale factor and compare with a steel rule. Always consider kerf and stock finish in your calculations, and jot down allowances for sanding or final trim. A short, consistent note system helps you avoid surprises when pieces come together and joints must align.
Before you cut, run a tight mental check and record it in a cut list: Plan scale and units confirmed; stock size verified; dimensions cross-checked; kerf and finish allowances accounted for; and final cross-check against the assembly. This habit keeps you focused and reduces errors, especially on longer projects where a small misreading compounds across many pieces.
| Check | What to Verify | Notes |
|---|---|---|
| Plan scale & units | Dimensions match chosen units | 1:1 or consistent scaling |
| Stock size | Thickness/width/length align with plan | Mill to final size, account for variation |
| Cross-check lengths | Sum of pieces equals overall dimensions | do a quick sanity check |
| Kerf allowances | Blade kerf considered in cut lengths | Adjust pieces accordingly |
Get Instant Access to 16,000+ Woodworking Plans →
Map Layouts and Reference Points for Exact Cuts
Think of a woodworking plan as a city map for your project. Map layouts show how pieces align in two directions, and reference points tell you where to start measuring. Look for an origin (often labeled 0,0 or a corner) and an orientation arrow on the plan. Most layouts give you a baseline along the length and a crossline across the width, so you can read each cut as a precise coordinate rather than a guess. By identifying these anchors, you can transfer the layout to your stock with confidence and avoid drifting off-line as you work.
To move from plan to board with accuracy, follow a simple transfer routine. First, align stock so that the plan's baseline runs parallel to the board length and the origin marks the correct corner. Second, lay out critical lines with a sharp pencil or marking knife, using a square to keep edges true and a marking gauge for consistent distances. Third,verify each measurement against the plan,then clamp the stock and perform a test cut on scrap to confirm the fit before proceeding.
Reference points frequently enough anchor the entire layout. Use a quick-reference map like this to stay aligned as you cut.
| Reference Point | What it identifies | how to use |
|---|---|---|
| Origin (0,0) | Starting corner or edge | Begin length and width measurements from hear |
| X-axis | Along the piece's length | Measure cuts along this direction |
| Y-axis | Across the piece's width | Locate transverse layout lines here |
| Grain direction | Direction of the wood grain | Keep layout and cuts aligned with grain for strength |
Before finalizing, verify that your orientation matches the plan's labeling. A single misread can throw several cuts off, especially when a line references a kerf or requires a compensating offset. Do a dry-run by marking all lines lightly, then recheck every distance against the plan. Use a sharp blade and clean stock, keep your measuring tools calibrated, and guard against grain direction surprises by cross-checking two independent measurements. With this disciplined approach, exact cuts follow the map-not the memory.
Get Instant Access to 16,000+ Woodworking Plans →
Prepare a Thorough Plan review Before Cutting
Before you cut a single line, take a complete pass through the plan to understand its intent and expected outcomes. Read through the entire document once to capture the overall workflow,then focus on the critical numbers: scale,dimensions,and material list. Confirm that the plan's stock sizes match what you have on hand or that you can realistically acquire, and note any discrepancies that could ripple through the build. A calm, methodical review saves you from costly re-cuts and keeps the project moving smoothly.
During your thorough review, run through a practical checklist to foreground potential pitfalls. Cross-check measurements against your actual stock, verify grain orientation for aesthetic and strength, and identify any ambiguous steps in joinery or assembly. Keep an eye out for hidden dependencies-such as a dado depth that relies on a particular board thickness or a trim piece that hinges on precise rail lengths. The goal is to convert every instruction into a concrete plan you can follow without guesswork. Here are key checks to perform:
- Match the cut list to stock – ensure quantities and sizes align with the material you have.
- Confirm joinery details – verify blade widths, dado depths, and fastener locations.
- Check orientation - note grain direction and lamination sequence.
- Flag ambiguities – mark any steps that lack clear measurements or diagrams.
To visualize the plan's expectations at a glance, use a compact checklist table that you can reference while cutting. The table below keeps essential verifications concise and scan-pleasant:
| Item | What to Verify | Result |
|---|---|---|
| Stock size vs. plan | Confirm dimensions and quantity | OK or flags changes |
| Grain orientation | Ensure correct direction for visuals/strength | Aligned |
| Dado/slot depths | Match to thickness and assembly needs | Set or adjust |
Finalize your planning by drafting a precise cut list and a one-page assembly roadmap. Label each piece with its intended location and orientation, and plan for dry-fitting individual components before any glue or fasteners go in. If a plan lacks a datum or reference edge, create your own by marking the workpiece and aligning it with the stock. A well-documented plan reduces last-minute decision-making and helps you stay aligned with the project's design intent.
Get Instant Access to 16,000+ Woodworking Plans →
Q&A
How do I interpret a woodworking plan's scale and measurements accurately?
Begin by noting the plan's scale (often 1:1 or 1:2) and translate measurements with a ruler or calipers. Cross-check critical dimensions against the finished size and note any required stock thickness or kerf. Mark and cut stock to size, then verify again before assembly.
What should I look for in the materials list and cut list to prevent mistakes?
Verify quantities, wood species, and grade, and ensure the grain orientation matches the diagram.Confirm that stock sizes match what you have or adjust the plan to your material. Watch for hardware, finishes, and any sanding or joinery notes the plan relies on.
How can I plan ahead to avoid misinterpreting diagrams or exploded views?
Use the assembly order hints and refer to the hardware list to stage steps logically. Do dry runs with scrap to test fit before cutting real pieces, and label parts as you go. Compare multiple views-front, side, and exploded-to confirm how pieces join.
How do I mark and transfer patterns or cuts without error?
Adopt a consistent marking system: light pencil for layout, a marking knife for precise lines, and transfer aids for exact locations.Double-check alignment with reference edges, squares, and layout blocks before cutting or drilling. Consider making small test pieces to verify fit before committing to the final stock.
What are common symbols or abbreviations on plans, and how do I decode them?
Keep a quick glossary handy for typical abbreviations and the plan's legend of symbols.Cross-reference notes and detail drawings that explain joints or finishes. If a symbol is unclear, contact the plan source or test a small sample to confirm its meaning.
The Conclusion
Clear plans are not a chore but a map. The takeaway is simple: take time to read end-to-end, verify dimensions, choose the right stock, and translate diagrams into repeatable steps before you cut. When you treat plans as a conversation you have with the project, confusion fades and confidence grows. This matters because every well-executed cut echoes in satisfaction, safety, and a growing toolkit of skills you can rely on again and again. So start small, pick a project that fits your current skills, or dive into another guide, and put these habits to work. With steady steps, your next piece will feel earned-and you'll be inspired to build again.


This is a fantastic guide! I always struggled with the technical jargon in woodworking plans, but your tips on breaking down the steps and highlighting essential measurements really make the process so much clearer. Thank you for sharing!
Great insights! I appreciate how you’ve simplified the planning process; it’s so helpful to see everything laid out step by step. Also, your reminders about double-checking measurements have saved me from some costly mistakes in the past. Keep up the great work!
Thanks for sharing these tips! I often feel overwhelmed by complex plans, but your approach to simplifying the steps really resonates with me. I especially appreciate the emphasis on visual aids-having a clear picture to refer to makes all the difference. I’m excited to put these strategies into practice!
I love these practical strategies! Breaking down each step and focusing on the key measurements not only helps to prevent confusion but also makes woodworking feel more accessible. Your insights about using diagrams and visual aids are invaluable, and I can’t wait to implement these techniques in my next project. Thanks for sharing!
These tips are a game changer! I often get bogged down by the details in woodworking plans, but your advice on focusing on crucial measurements and using visual guides is super helpful. I can’t wait to try out your suggestions in my upcoming projects-thanks for making woodworking more approachable!
These are some fantastic tips! I’ve often found myself lost in the details of woodworking plans, but your suggestions on simplifying the process and focusing on essential measurements are brilliant. Visual aids really do make a huge difference, and I’m excited to try out these techniques in my next woodworking project. Thank you for making this approachable and less intimidating!
These tips are incredibly helpful! I often struggle with woodworking plans, and your advice on breaking them down and using visual aids really resonates with me. It’s so much easier to approach a project when everything is clear and organized. Thank you for making woodworking feel more attainable!
These insights are exactly what I needed! I’ve struggled with following woodworking plans for too long, and your advice on breaking things down step by step really helps. The emphasis on visual aids and keeping things straightforward will surely make my next project much smoother. Thank you for sharing such practical tips!
This is exactly what I needed to read! Following woodworking plans has always been a bit overwhelming for me, but your advice on clarifying steps and utilizing visual aids really helps demystify the process. I’m looking forward to applying these strategies to my upcoming projects-thank you for sharing such valuable insights!
This post is a lifesaver! I’ve always found woodworking plans to be daunting, but your clear breakdown of the steps and emphasis on visual aids gives me the confidence to tackle new projects. I can’t wait to put these suggestions into action-thank you for sharing such practical guidance!