Turn a Saturday into a small masterpiece. In one brisk weekend, humble scraps can become practical keepsakes, and your workshop will feel alive again. For woodworkers, short projects stay sharp, spark creativity, and deliver tangible results without a long runway. this article, “Inspiring Small Wood Projects You Can Make in a Weekend,” opens a door to accessible, satisfying builds you can finish before Monday. You'll gain ready-to-follow project ideas, simple step-by-step guidance, essential tool hacks, and finishing tips to elevate plain boards into items you'll use daily-and maybe gift with pride.
weekend wood projects that spark creativity and deliver results
Weekend wood projects are a perfect mix of creativity and tangible results. With a tight scope and a clear cut list, you can turn a few boards into something you'll actually use around the house. The trick is to plan first, keep the project compact, and finish with a simple, durable coating that makes the work shine rather than slow you down.
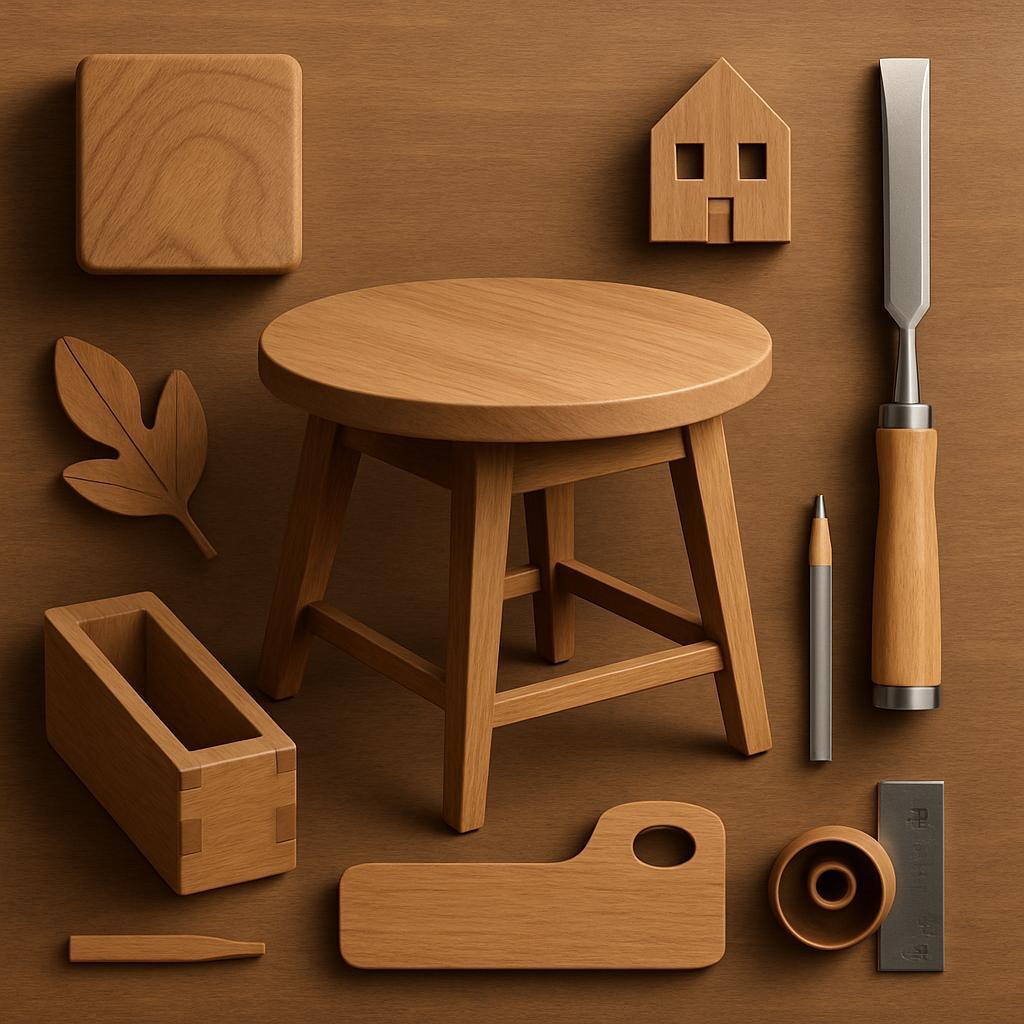
Consider a couple of versatile builds that look great and teach practical skills. For a floating wall shelf, grab a single 1×8 pine, two L-brackets, screws, and sandpaper; steps: cut to length, drill pilot holes, attach brackets, and sand the edges; finish with a quick oil finish. For a compact plant stand, cut a single board into a small pedestal with gentle tapering, attach four slim legs, then sand smooth and apply a protective oil. Both projects can be completed in about 2-3 hours and require only basic tools, making them pleasant for a weekend sprint.
To avoid time sinks, set up a mini workspace with a solid surface, clamps, and a small finishing kit. Dry-fit all joints first,then move to final sanding and finishing. If you have scraps, these projects scale down into a tray or a small stand, and they're perfect for experimenting with finishes-oil, wax, or a low-VOC polyurethane-so you can compare results side by side.
| Project | Time (hrs) | Skill Level | Key Tools | Finish |
|---|---|---|---|---|
| Floating Wall Shelf | 2-3 | Beginner | Saw,Drill,Screwdriver,Sandpaper | Tung oil or water-based finish |
| Plant Stand | 1.5-2.5 | Beginner | Saw, Drill, Clamps | Beeswax oil or Poly |
| Serving Tray | 1-2 | beginner | Sandpaper, Optional router/jigsaw | Mineral oil or Wax |
Pro tips: reuse scrap wood, check for nails, and seal all cut edges. Keep a small finishing kit ready by the door so you can grab it and go, turning even a brief 2-hour window into a satisfying, mess-free session.
Build Your dream Workshop on a Budget →
Selecting materials for affordable durable small projects
Choosing the right material for affordable, durable small projects starts with understanding how it will be used. For weekend builds,you want something forgiving to work with,that holds fasteners well,and stands up to everyday use. Aim for a balance between cost and stability-the more dimensionally stable the stock, the less time you spend fighting warps or twist as you cut, plane, and finish. Plan ahead for exposure: a coffee table or plant stand may see spills, while a wall shelf might only endure the occasional bump.By thinking through the project's life, you can avoid over-spending on premium wood you don't truly need.
for affordable, durable small projects, a few dependable options shine: pine, poplar, birch plywood, MDF, and reclaimed wood. Each has trade‑offs in strength, finish, and moisture sensitivity. Here's a quick snapshot to guide your choice before you shop:
| Material | Pros | Cons |
|---|---|---|
| Pine (softwood) | Inexpensive; easy to cut, nail, and glue; takes finishes well | Knotty grain; can warp if green; may require extra sanding |
| Poplar | Affordable; smooth surface; good for painted finishes | not as strong as hardwoods; lighter color can stain unevenly |
| birch plywood | Strong and stable; good edges with sealing | More costly than pine; edges need sealing |
| MDF | very smooth; inexpensive; highly dimensionally stable | Heavy; limited outdoor use; needs proper finishing |
| Reclaimed pallet wood | Extremely affordable; characterful; lasting | Inconsistent sizes; nails and potential treatments; prep required |
whichever material you choose, inspect stock like a detective: look for straight grain, minimal twists, and open faces that glue cleanly.Check moisture content and aim for a consistent reading that matches your climate-typically around 6-12% for indoor projects.store stock flat and dry, and consider buying slightly longer or wider than your cut list so you can trim for best grain alignment and fewer defects. Small-budget builds reward careful planning: saving a few inches on a cut can prevent waste later and stretch your budget further.
Finish decisions matter just as much as the wood you pick. For durability, seal all edges, joints, and end grains, especially on plywood and MDF. Favor through-fasteners reinforced with wood glue or pocket-hole joinery for weekend projects, and predrill to avoid splitting. When possible, choose paints or clear finishes that resist knocks and moisture, and consider edge sealing with a thin veneer or paint to protect exposed faces. With thoughtful material choices and a crisp build plan, your small weekend project will endure as long as the memories you build it to hold.
Build Your Dream Workshop on a Budget →
Planning a weekend build with clear steps and milestones
Planning a weekend build starts with a clear, realistic scope. Pick a project that fits within your time and space: a small stool, a wall shelf, or a wall-mounted rack. Define constraints like finished size, weight, and where it will live. With these guardrails in place, you can translate an idea into a concrete plan.Create a rough sketch, then list the essential steps you'll need to complete, and note any steps that require special tools or a bit of extra help. Set a modest budget and look for scrap wood or offcuts to keep the project affordable and sustainable.
To stay on track,break the weekend into clear milestones: Prep and cut list,Rough assembly,Sanding and finish,and Final assembly and cleanup. For each milestone, outline the core tasks and assign a practical time block that fits your 2-4 hour sessions. Keeping these milestones visible helps prevent scope creep and maintains momentum through the weekend.
| Milestone | Key Tasks | Time Block |
|---|---|---|
| Prep and cut list | Measure, mark parts, gather hardware | 1-2 h |
| Rough assembly | Cut pieces, dry-fit, assemble | 2-3 h |
| Sanding and finish | Smooth surfaces, apply finish | 2 h |
| Final assembly & cleanup | Final checks, install fittings, tidy | 1 h |
When you map the milestones to a weekend, a practical split is: Saturday morning for prep and rough cuts, Saturday afternoon for assembly and dry-fit, and Sunday for sanding, finishing, and final checks. Block your calendar in 2-4 hour chunks,and leave a little buffer for drying or moving around a small shop. If you hit a snag, have a quick backup plan-simplify the project to a smaller version or switch to a fast-drying finish option to stay on track. set up safety and workflow routines: keep tools organized, wear eye and hearing protection, and document progress with a quick photo log so you can celebrate the milestone when Sunday ends.
Build Your Dream Workshop on a Budget →
Efficient assembly techniques and essential tools for small projects
Efficient assembly begins with smart planning and clean execution. For weekend-worthy projects,start with a measured dry-fit,then tighten up joints before any glue or screws. Use simple joinery like butt joints, pocket holes, or a miter-and-block approach that tolerates small variances. Clamp strategically, work from a steady bench, and check alignment often to keep the project moving without a hitch.
Equip a compact, versatile toolkit that travels light but works hard. A cordless drill/driver with a spare battery, a small set of driver bits, and a magnetic bit holder will handle moast fasteners. Combine this with a few sturdy clamps (6-12 inches and a couple of bar clamps), a reliable square, and a sharp saw for accurate cuts. Finish with a palm sander or sanding block and a good set of chisels or a hobby knife for clean edges.
- Cordless drill/driver with spare battery
- Assorted clamps: 6-12 in and a couple of bar clamps
- Combination square and marking gauge
- Sharp saw (backsaw or Japanese pull saw)
- Finish sanding set (120-220 grit)
- Chisels or hobby knife for trimming
Time-saving assembly tricks can also save trips back to the workbench. Pre-mark your screw positions, pilot holes, and countersinks, and use color-coded screws to keep projects consistent. When possible, pre-drill from the underside to hide fasteners, and use a low-friction glue with a damp rag cleanup for neat joints. A simple jig or square guide can speed up repetitive cuts and ensure repeatable results.
| Tool | Best For | Tip |
|---|---|---|
| Cordless drill | Drilling and driving | use variable speed and pilot holes |
| Clamp assortment | Holding parts steady | Keep claws parallel to work |
| Saw (Japanese pull saw) | Clean, precise cuts | Work with the grain |
| Palm sander | Surface finish | Progress through grits (120-220) |
Build Your Dream workshop on a Budget →
Finishing touches that elevate appearance and protect your work
Finish is the final polish that makes weekend projects feel intentional. After the last pass with your sanding block, select a finish that suits how the piece will be used and the wood you chose. Always test on a scrap piece to preview color and sheen before committing to your project. Apply thin coats, let each coat dry fully, and lightly sand with 320-400 grit between applications to keep the surface smooth. For most small projects, a satin or low-luster sheen reads as refined and keeps grain texture visible, while a gentle gloss finish can highlight a dramatic figure on display pieces. Temperature,humidity,and a clean workspace matter- aim for a dry,dust-free environment during finishing.
Consider the finish's protection as much as its look. Water-based polyurethanes dry fast and stay clear, making them ideal for lighter woods and modern styles. Oil-based polyurethanes deepen color and build tougher films, but they take longer to cure and have more odor. For a natural, hand-rubbed feel, try tung oil or Danish oil (apply several coats with light buffing). Shellac offers a warm glow and easy touch-ups but is not highly water-resistant, so reserve it for decorative pieces or items that won't encounter moisture. Choose a finish that aligns with your project's life, maintenance, and environment.
Quick-reference finish comparison (at a glance):
| finish | Look/Feel | Best For | Key Considerations |
|---|---|---|---|
| Water-based polyurethane | Clear, non-yellowing | Light woods, modern styles | Fast-drying; easy cleanup; low odor |
| oil-based polyurethane | Warm amber; durable | Heavier-use surfaces | Longer cure; stronger odor; slight yellowing on very light woods |
| Tung oil / Danish oil | Natural, hand-rubbed look | Everyday pieces with natural grain | Multiple coats; buff between applications |
| Shellac | Warm glow; easy touch-ups | Decorative pieces; small repairs | Not water-resistant; dissolves with alcohol |
Finishing is also about protecting the wood along the edges and joints. Round or chamfer edges slightly to reduce chipping and to feel pleasant to the touch. After you apply the final coat, buff with a soft cloth and, if you want a tactile finish, a light coat of paste wax can add a gentle sheen and quieter feet on furniture.Keep hardware choices in harmony with the finish-brass will warm cooler tones, while brushed nickel blends with modern styles. store and use pieces in a dry, climate-stable area to let the finish cure and stay resilient for years.
Build Your Dream Workshop on a Budget →
Design ideas and practical templates to start quickly
Design ideas that help you start quickly hinge on modular templates and simple stock. For weekend projects, choose patterns with a handful of boards, straightforward joints, and consistent dimensions that you can repeat across builds. Think in templates rather than one-off pieces: a basic wall shelf, a peg rack, and a small storage crate all share common components and cut lists, so you can batch-cut and save time. By choosing universal sizes (for example, 18″ to 24″ lengths and 6″ to 8″ widths), you can mix and match pieces into different projects without re-measuring.
To accelerate the first build, establish ready-to-use templates and a practical workflow. Download printable cut lists and keep a digital file of stock by size. create a simple labeling system for scraps, and lay out a repeatable clamp-and-glue routine.Here are a few starter templates you can scale to your space:
- Simple wall shelf – 2 side supports plus 1 shelf; butt joints or screws; ideal for books or display items.
- Rustic peg rack – backboard with 4 evenly spaced pegs; quick to mount; minimal joinery.
- Crate-style storage box - bottom and four sides; butt joints with nails or screws; stackable for association.
| Project | Typical pieces | Primary joinery | Estimated time |
|---|---|---|---|
| Simple wall shelf | 2 side boards, 1 shelf | screws + glue | 2-4 h |
| Rustic peg rack | Backboard, 4 pegs | drill + glue | 1-3 h |
| Crate-style storage box | Bottom, 4 sides | butt joints, nails | 2-3 h |
To visualize quickly, keep a compact reference of templates on hand. Treat the table as a workflow map: pick a project,scale it to your space,and cut pieces in a single run. Dry-fit before final assembly and use a minimal finish, such as a clear wipe-on polyurethane or a beeswax finish, to preserve the simplicity. With a small library of templates and a repeatable setup, weekend sessions become predictable, satisfying builds rather than a rushed scramble.
Build Your Dream Workshop on a Budget →
Q&A
What are some beginner-friendly weekend projects that still feel rewarding?
Consider a floating wall shelf, a simple picture frame, or a small cutting board. These items use basic cuts, glue, and sanding, and can be finished with a quick coat of oil or wax. They provide a visible sense of achievement without overwhelming you with complex joinery.
Which tools are essential to complete weekend projects without a full workshop?
start with a saw (hand saw or compact miter saw), a drill, a random-orbit sander, clamps, and a tape measure plus square. A basic set of chisels and wood glue helps for fitting joints. A couple of brushes or a lint-free cloth for finishing rounds out the essentials.
How should I choose wood and fasteners for quick builds?
opt for forgiving softwoods like pine or poplar for ease of cutting and shaping. Use pre-drilled holes and self-tapping screws to minimize splitting,and consider plywood or MDF for flat panels. Check for straight grain and avoid warped boards to save time and frustration.
Any quick finishing tips to protect projects without long wait times?
Choose a quick-dry finish such as wipe-on polyurethane or water-based varnish and apply thin coats, letting them dry thoroughly between applications. Lightly sand between coats for a smoother result. A simple wax or oil finish can also bring out the wood grain with minimal drying time.
Wrapping Up
These small weekend projects remind us that progress isn't about grand, never-ending builds, but about steady steps that yield tangible results. The takeaway is simple: with clear goals,the right cut list,and a bit of patience,you can finish something useful-and learn along the way. For woodworking enthusiasts, that matters: each project hones technique, expands your toolbelt, and feeds the creative impulse without devouring a month. So pick one you can complete, plan it tonight, gather materials, and start shaping. If you loved these ideas, explore more guides or adapt the methods to your space. and go finish something-you've got this.


These projects look fantastic! I love how they combine simplicity with creativity-perfect for a weekend craft session!
These ideas are amazing! I can’t wait to try making some of these small projects for my home-perfect for adding a personal touch!
I absolutely love these project ideas! They seem like such a fun way to spend the weekend and I can already envision the perfect cozy accents they’ll bring to my space!
These projects are right up my alley! I love how they not only allow for creativity but also leave you with beautiful and functional pieces to enjoy in your home. Can’t wait to get started!
I’m so excited to dive into these projects! It’s great to see such inspiring ideas that are not only achievable in a weekend but also bring a personal touch to our spaces. Can’t wait to see what I can create!
I’m so inspired by these small wood projects! They seem like a perfect way to unleash creativity and add some unique charm to my home. I’m ready to roll up my sleeves and get crafting this weekend!
These small wood projects look so fun! I love how they can transform simple materials into beautiful decor that reflects our personalities. I’m definitely trying one this weekend!
I’m thrilled to see so much enthusiasm for these small wood projects! They seem like the perfect blend of creativity and craftsmanship, and I can’t wait to try my hand at making something unique for my home. Let the weekend crafting begin!
These small wood projects are just what I need to kick off a productive weekend! I love that they’re quick to make and let us showcase our personality in our homes. Ready to get my workshop set up and start creating something special!
These small wood projects are a fantastic way to spend the weekend! I love the idea of creating something functional and beautiful for my home while enjoying some quality crafting time. Time to gather my materials and get started!
I’m excited to dive into these small wood projects this weekend! They seem like a wonderful opportunity to express my creativity and make something special for my space. Can’t wait to get started!
I can’t wait to try out some of these small wood projects this weekend! They seem like a great way to unwind and tap into my creativity, plus I love the idea of making handmade items for my home that really showcase my style. Time to roll up my sleeves and get started!
I’m really looking forward to tackling some of these small wood projects this weekend! They not only allow for creativity but also leave you with beautiful, handmade pieces that can bring a personal touch to any space. Let’s get crafting!
I’m thrilled to see all this enthusiasm for small wood projects! They really offer the perfect blend of creativity and practicality, and it’s so rewarding to end the weekend with handcrafted treasures that add character to our spaces. Let’s inspire each other with what we create!
I love the excitement surrounding these small wood projects! There’s something incredibly satisfying about creating usable art with your own hands, and the sense of accomplishment at the end of the weekend is unmatched. I’m ready to unleash my creativity and see what magical pieces I can come up with-let’s do this!
These small wood projects are just what I need to spark my creativity and spend a fulfilling weekend! There’s something magical about working with raw materials and transforming them into something beautiful and functional. I’m eager to see what I can create and share my journey with everyone!
I absolutely love the idea of diving into small wood projects this weekend! There’s nothing quite like creating something unique and personalized for your home, and the joy of working with your hands is unmatched. I’m excited to see what everyone comes up with and to share my own creations along the way!
I’m excited to join in on the fun with these small wood projects! It’s amazing how a few simple tools and some wood can lead to such unique creations, and I can’t wait to see the creativity in this community. Let’s make this weekend a memorable one filled with crafting and inspiration!
I’m really looking forward to diving into these small wood projects this weekend! There’s something so rewarding about transforming simple materials into something beautiful and functional. I can’t wait to explore everyone’s ideas and share my own creations-let’s make this weekend one filled with inspiration and craftsmanship!
I’m thrilled to see so much enthusiasm for small wood projects! There’s a special kind of joy in crafting something from scratch and bringing your ideas to life. I can’t wait to share my creations and be inspired by what everyone else makes-let’s fill this weekend with creativity and craftsmanship!